
5 min read
Wooden birdhouses with painted roofs add color to a garden and give birds a safe place to nest, and they are a satisfying first woodworking project. A simple birdhouse takes one afternoon, uses a single board, and teaches you the measuring, cutting, and joining skills behind bigger builds. Painting the roof turns a plain box into a garden ornament, and birds do not mind the color at all. A birdhouse also makes a thoughtful gift for anyone with a garden.
Start with a pine or cedar board about six inches wide and five feet long, a saw, a drill, screws, sandpaper, exterior paint, and a paintbrush. Cedar resists rot naturally and lasts longer outdoors, while pine is cheaper and easier to cut. Avoid pressure-treated lumber for birdhouses, since the chemicals can harm nesting birds. Choose a board free of large knots, because knots make cutting harder and can split under screws.
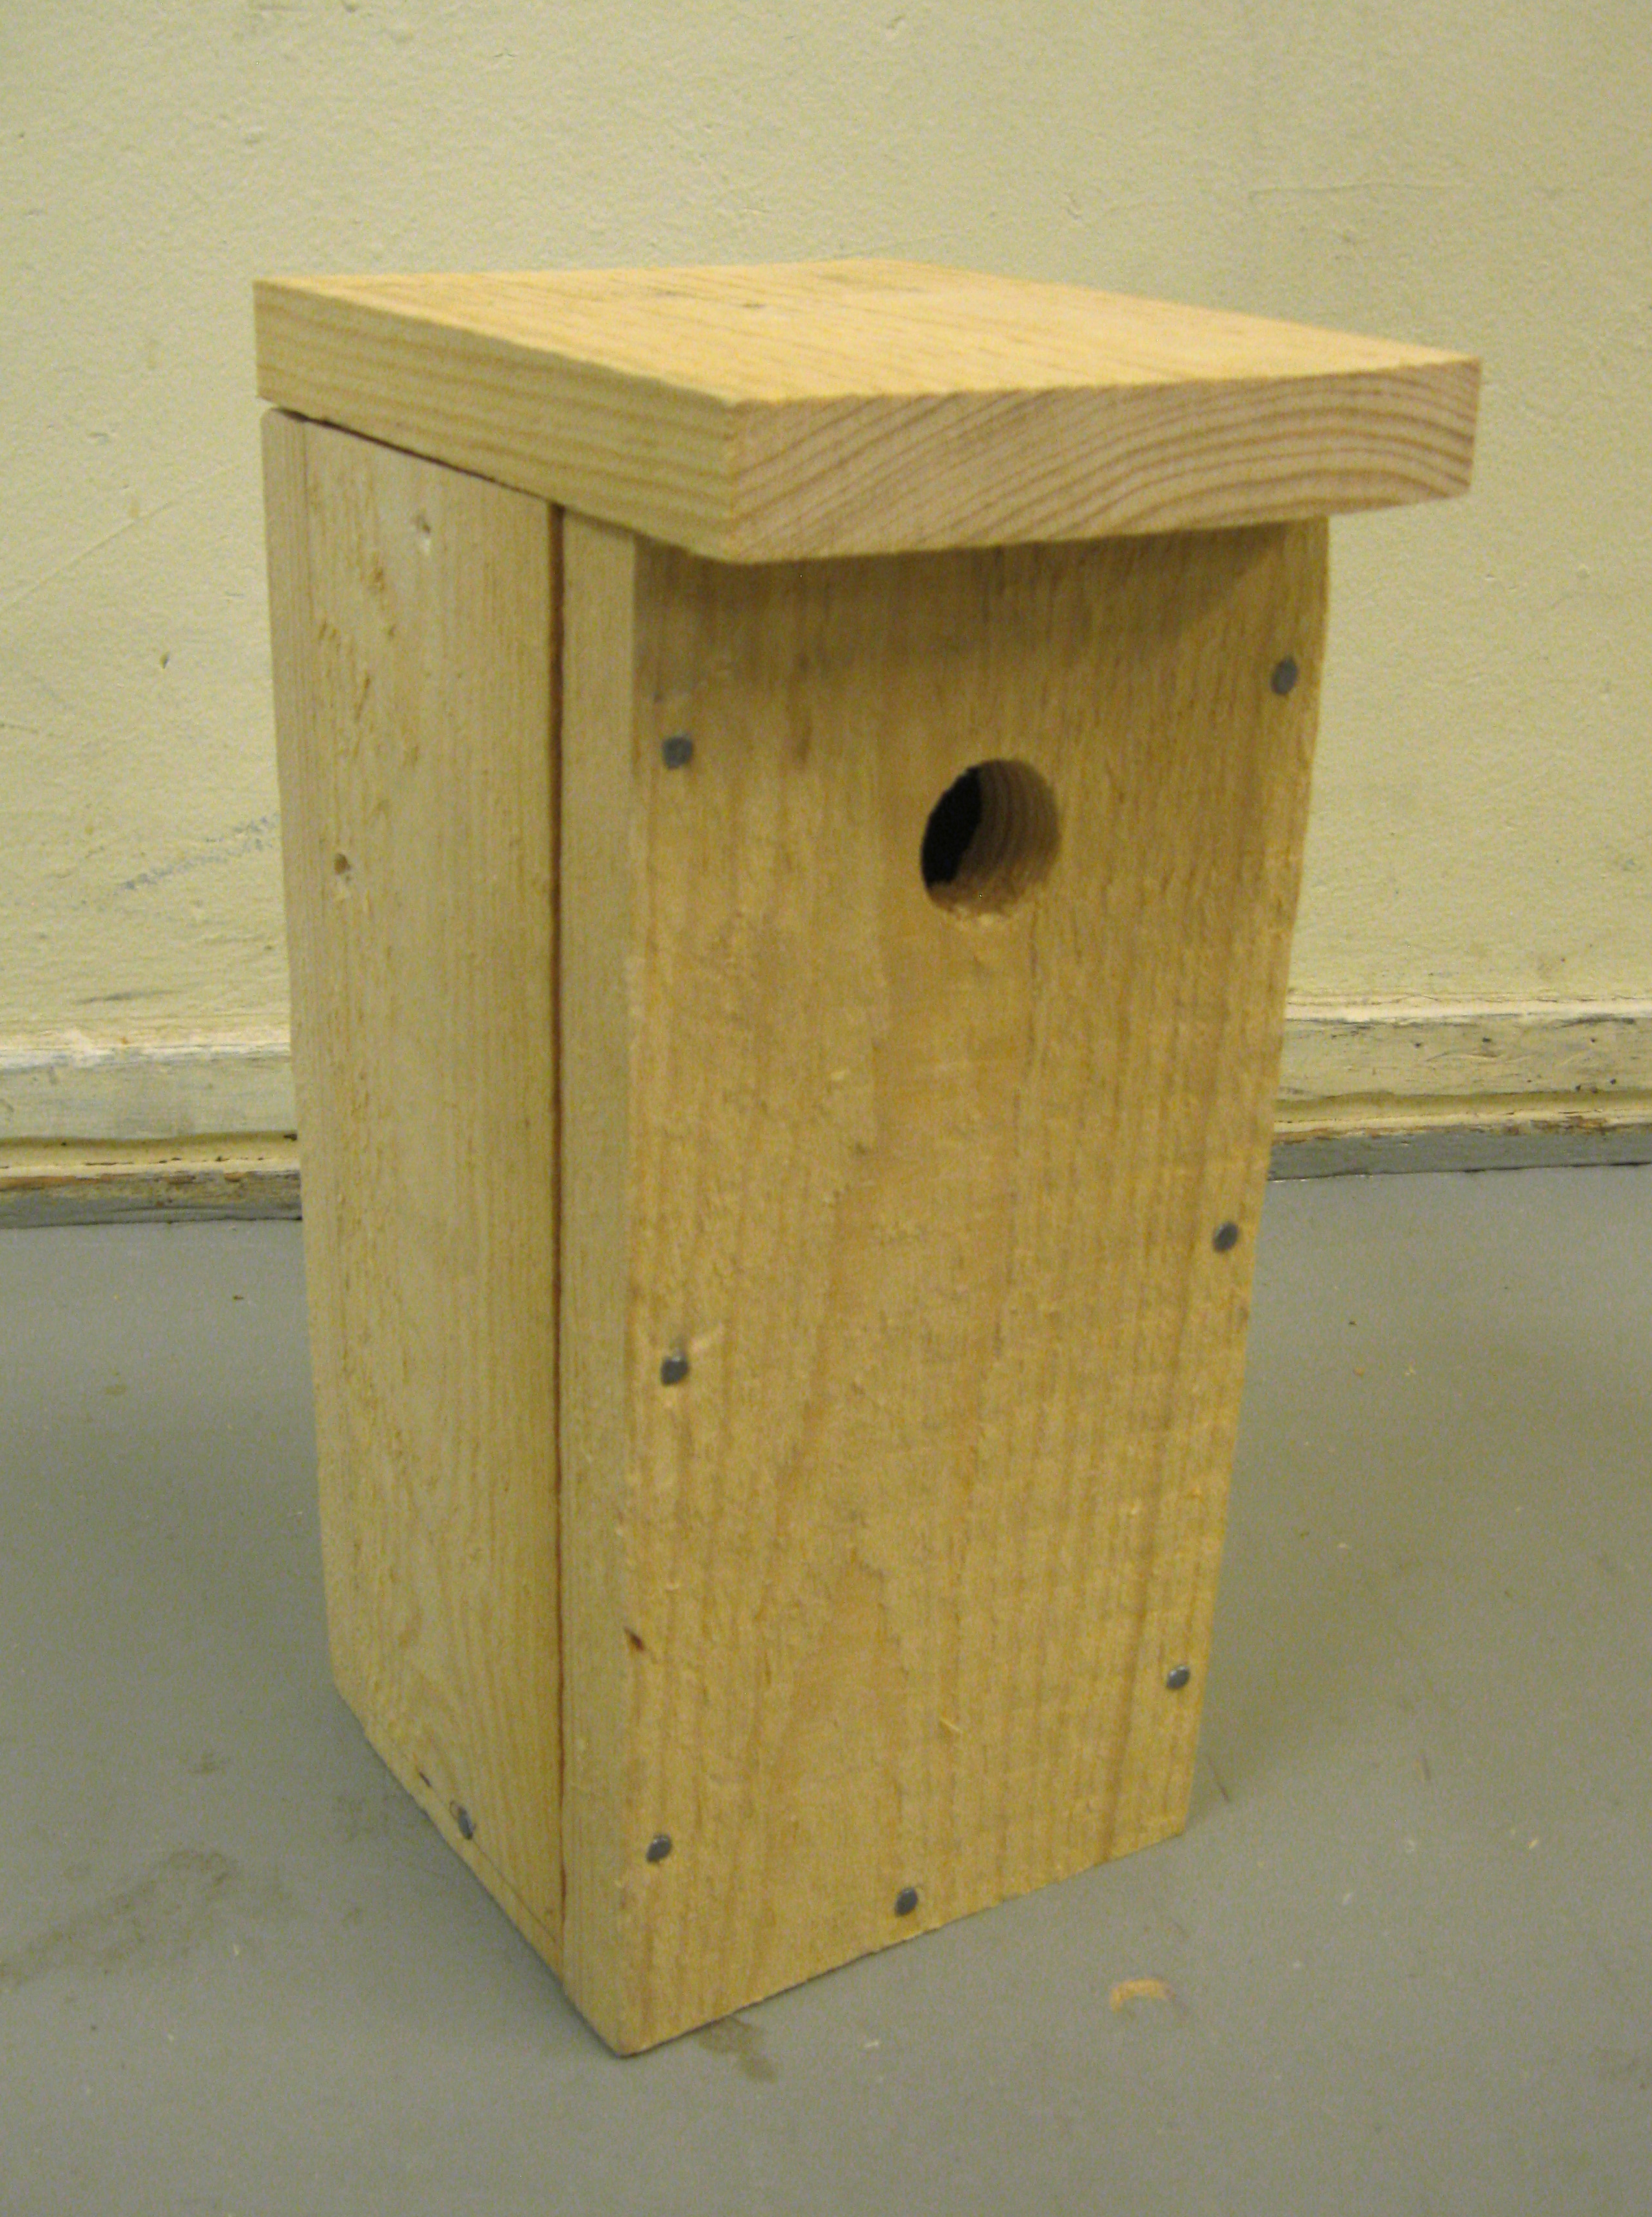
Cutting the Pieces
A basic birdhouse needs six pieces:
- a front
- a back
- two sides
- a floor
- a roof
- a small perch if you want one
The front and back are about six inches wide and nine inches tall, the sides are four inches wide and nine inches tall, and the floor is four by six inches. The roof is a single board about eight by nine inches, which overhangs the front to keep rain out. Mark all the pieces on the board before you cut, so you use the wood efficiently and do not run short.
Cut with a handsaw or a circular saw, keeping the blade tight against your marked line for a straight edge. Wear safety glasses and keep your fingers clear of the blade, since a moment of carelessness with a saw causes real injury.
Drilling the Entrance Hole
Drill the entrance hole in the front piece before you assemble the birdhouse, since drilling a flat board is far easier than drilling a finished box. The hole size decides which birds move in, so match it to the species you want: one and a half inches suits bluebirds, wrens, and chickadees, while a one inch hole suits wrens only. Drill the hole about six inches above the floor, centered on the front piece, using a spade bit or a hole saw. Clamp the board to a workbench and drill slowly to avoid splintering the back.
Sand the inside edge of the hole smooth, since a rough hole can snag feathers and deter birds. Do not add a perch below the hole, since perches help predators and house sparrows more than the birds you want.
Assembling the Box
Assemble the birdhouse with screws rather than nails, since screws hold tighter and let you open the box for cleaning. Attach the sides to the floor first, then the back, then the front, checking that the corners stay square as you go. Pre-drill every screw hole to keep the wood from splitting, especially near the ends of the boards. Use exterior screws that will not rust, since rust stains the wood and weakens the joint over time.
Attach the roof last, hinging it with one screw on each side so you can swing it open for cleaning. A hinged roof makes the annual cleanout easy, which matters because old nests harbor parasites that deter new tenants. Leave a small gap under the roof overhang for ventilation, and check that the roof sheds rain away from the entrance hole. Give the assembled birdhouse a firm shake to make sure every joint is tight before you paint.
Painting the Roof
Paint only the outside of the birdhouse, since birds prefer a plain, unpainted interior. Use exterior latex paint or exterior wood stain, and avoid lead paint or paint with strong fumes, which can harm nestlings. A painted roof in a bright color, such as red, blue, or green, makes the birdhouse visible in the garden and protects the wood from weather. Apply two thin coats, letting each coat dry fully, and paint the edges of the roof as well, since end grain soaks up water fastest.
Keep the entrance hole free of paint, since a painted hole can chip and the flakes can fall into the nest. If you want a decorative touch, paint a simple stripe or a flower on the front, but keep the design simple so the birdhouse still looks like a birdhouse. Let the paint cure for a full day before you hang the birdhouse, since fresh paint fumes bother birds.
Hanging and Maintaining
Hang the birdhouse on a pole or a tree, five to ten feet above the ground, facing away from prevailing winds and afternoon sun. A metal pole is better than a tree, since it keeps out climbing predators such as cats and raccoons. Face the entrance away from the wind and toward a nearby bush or tree where fledglings can shelter on their first flight. Do not hang birdhouses close together, since most nesting birds are territorial and will fight over nearby boxes.
Clean the birdhouse once a year in late winter, removing the old nest and scrubbing the inside with a mild bleach solution, then rinsing and letting it dry. Check the screws and the roof hinge during the cleanout, and tighten anything that has loosened. A well-maintained birdhouse can last a decade or more, and returning birds will use the same box year after year.
If this was useful, keep going: Adults And Crafts Wood Burning Kit is the natural next read, and the other guides below go further still.
Reference: Birdhouse — Wikipedia
Related Articles:
- Adults And Crafts Wood Burning Kit
- Reclaimed Wood Crafts for Etsy: Small Space Selling Guide
- Crafts for Adults: Denver's Creative Scene
Tried this project?
Show us how yours turned out in the comments — your version might be exactly the inspiration another maker needs.
If this tutorial helped, share it with a fellow crafter.