
5 min read
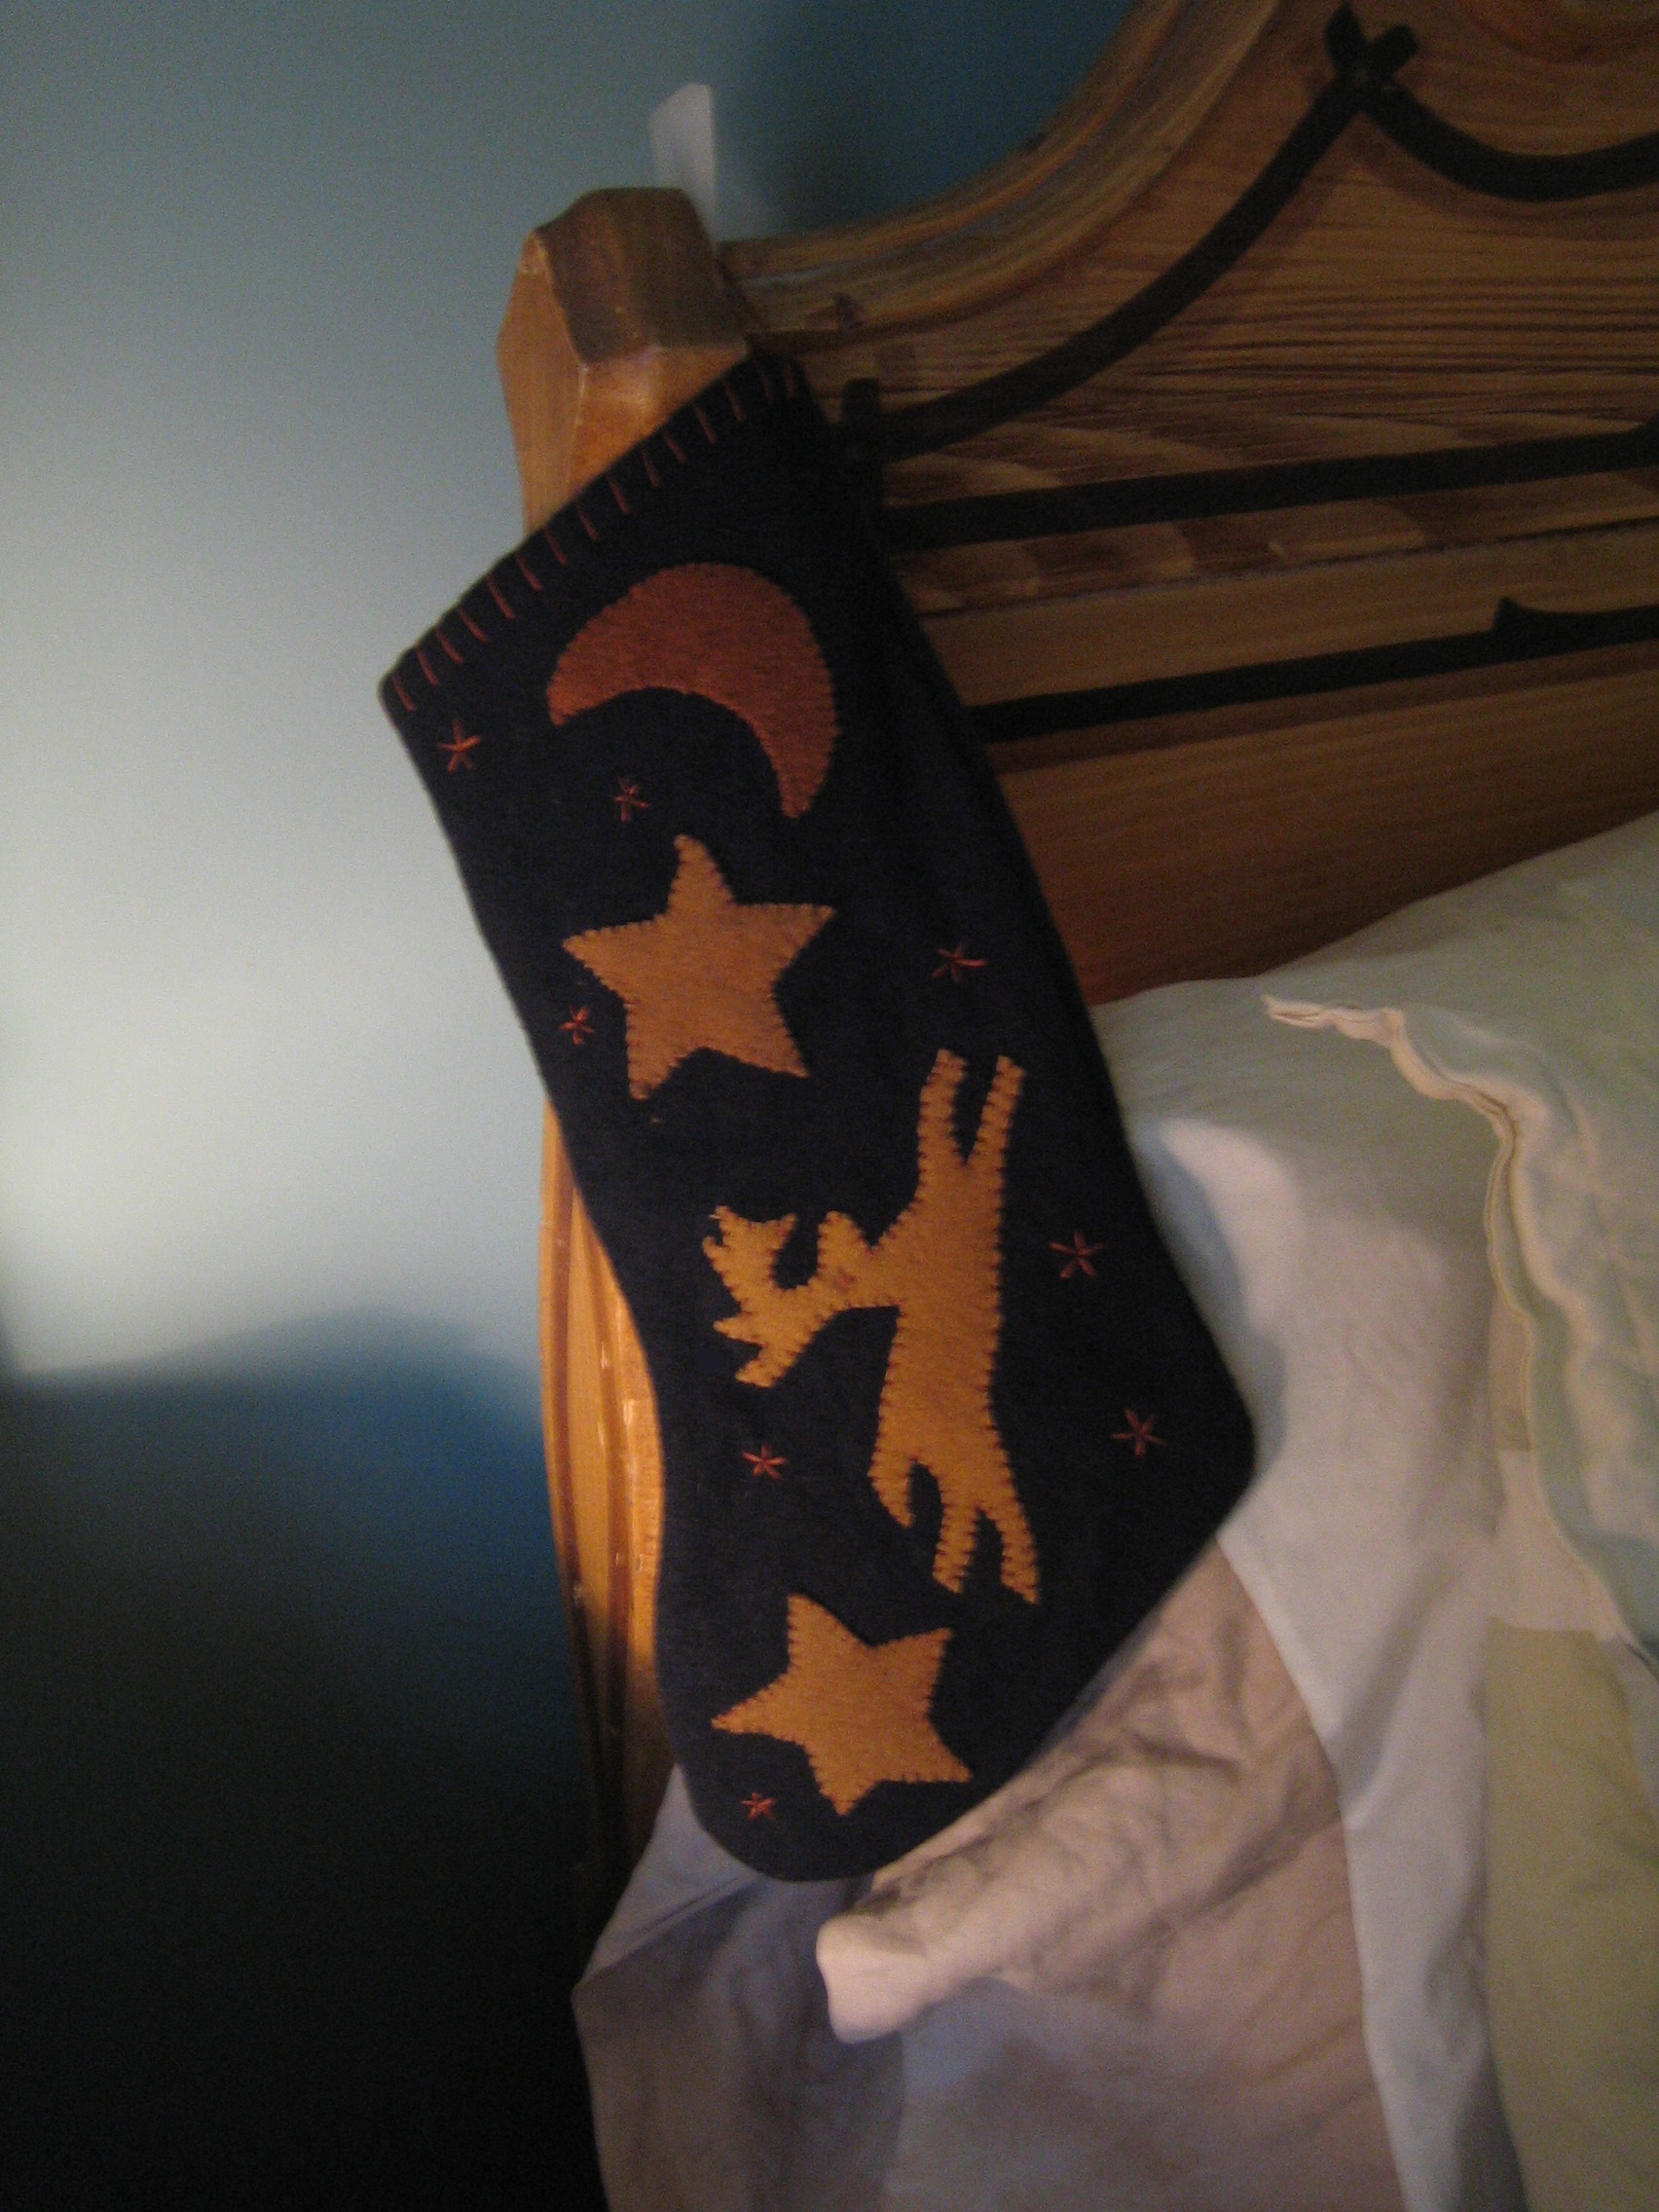
Christmas stockings from felt with applique names turn a simple decoration into a family keepsake. Felt cuts cleanly, needs no hemming, and holds applique shapes well. An applique name makes each stocking personal, so no one mixes up whose stocking hangs where. A stocking takes about two hours to make, including the applique work.
Felt stockings suit crafters who want a project with a clear, cheerful result. The materials cost little, and the sewing is simple. A row of named stockings on a mantel looks festive and personal. Children love seeing their name stitched onto their own stocking.
Cutting the Stocking
Draw a stocking pattern on paper about forty centimeters tall. Cut two stocking shapes from red or green felt. Cut a cuff from white felt, about ten centimeters tall and as wide as the stocking top. Cut applique letters for the name from a contrasting felt color. Keep the letters at least four centimeters tall so they are easy to cut and sew.
Use sharp scissors for clean felt edges. Felt does not fray, so you can cut curves and letters without finishing the edges. Pin the pattern to the felt before cutting to keep the shape even. Cut the two stocking pieces together so they match exactly. A matching pair sews up neatly.
Appliqueing the Name
Arrange the letters on the front of the stocking before you sew anything. Center the name and check the spacing. Pin each letter in place. Sew around each letter with a blanket stitch or a straight stitch close to the edge. A blanket stitch gives a handmade look and holds the felt firmly. Take your time around curves so the stitches stay even.
If you prefer glue, use a fabric glue made for felt and press each letter firmly. Glue works for decorations that will not be handled much, but stitching lasts longer.
Add small felt shapes around the name, such as
- stars
- trees
- snowflakes
A few simple shapes make the stocking look festive without crowding the name.
Sewing the Stocking
Place the two stocking pieces together with the applique facing out. Sew around the sides and foot with a blanket stitch, leaving the top open. Keep the stitches even and close together so the seam holds small gifts. The blanket stitch also decorates the edge, so choose a thread color that looks good against the felt.
Sew the cuff to the top of the stocking by folding it in half and stitching it inside the opening. The cuff should hang over the outside of the stocking by about five centimeters. Add a loop of ribbon at the top corner for hanging. A loop of grosgrain ribbon holds the weight of a filled stocking.
Finishing and Filling
Press the finished stocking lightly with a cool iron to flatten the seams. Do not press felt with a hot iron, since heat can melt synthetic felt. Fill the stocking with small gifts, fruit, and candy on Christmas Eve. A felt stocking holds a surprising amount, but avoid heavy items that stretch the seams.
Adding a Lining
A lining makes a felt stocking feel finished and helps it hold its shape. Cut a lining from cotton fabric using the same stocking pattern. Sew the lining pieces together with a straight stitch, leaving the top open. Slip the lining inside the felt stocking with the wrong side facing the felt. The lining should sit smoothly without bunching.
Attach the lining to the stocking at the top edge with a row of hand stitches. Fold the lining top under by one centimeter before you stitch so no raw edge shows. Use a thread color that matches the lining. Small, even stitches hold the lining firmly. A lined stocking feels sturdier when you fill it with gifts.
Choose a lining fabric that complements the felt color
Choose a lining fabric that complements the felt color. A red stocking with a green lining looks festive. A white lining keeps the inside bright so you can see the contents. Avoid a dark lining in a dark stocking, since it makes the inside hard to see. A light lining helps children find small gifts.
Press the lined stocking gently with a cool iron to flatten the seams. Do not press synthetic felt with a hot iron. A pressed stocking hangs neatly on the mantel. The lining also stops small items from snagging on the felt seams. A lined stocking lasts longer than an unlined one.
Make a small stocking for a pet using the same pattern scaled down. A pet stocking hangs beside the family stockings and holds a few treats. Use a shorter pattern and a smaller cuff for the pet version. Add the pets name in applique letters just like the family stockings. A pet stocking makes the whole family feel included on Christmas morning. Children especially love seeing a stocking for the family dog or cat. Keep the pet stocking small so it does not overshadow the rest of the row.
Store the stockings flat after the holidays to keep their shape. A set of named felt stockings becomes a family tradition that grows each year. When a new family member arrives, make a stocking to match. Handmade stockings carry memories that store bought ones cannot match.
Still curious? The related reads below dig deeper, starting with Beaded Christmas Spider Ornaments.
Related Articles:
Tried this project?
Show us how yours turned out in the comments — your version might be exactly the inspiration another maker needs.
If this tutorial helped, share it with a fellow crafter.