
5 min read
Crocheted headbands with flower appliques are a cheerful spring project that works up quickly and uses small amounts of yarn. A soft band keeps hair back on windy days, and a few crocheted flowers add color without the weight of a full hat. You can finish a headband in one evening, and the flowers are a good way to use leftover yarn from larger projects. The pattern is simple enough for confident beginners who know basic stitches.
Choose a yarn that feels soft against the forehead, because a scratchy band will not get worn. Cotton or a cotton blend works well for spring since it breathes and holds its shape. Pick flower colors that contrast with the band so the appliques stand out, such as coral flowers on a cream band or yellow flowers on a sage band.
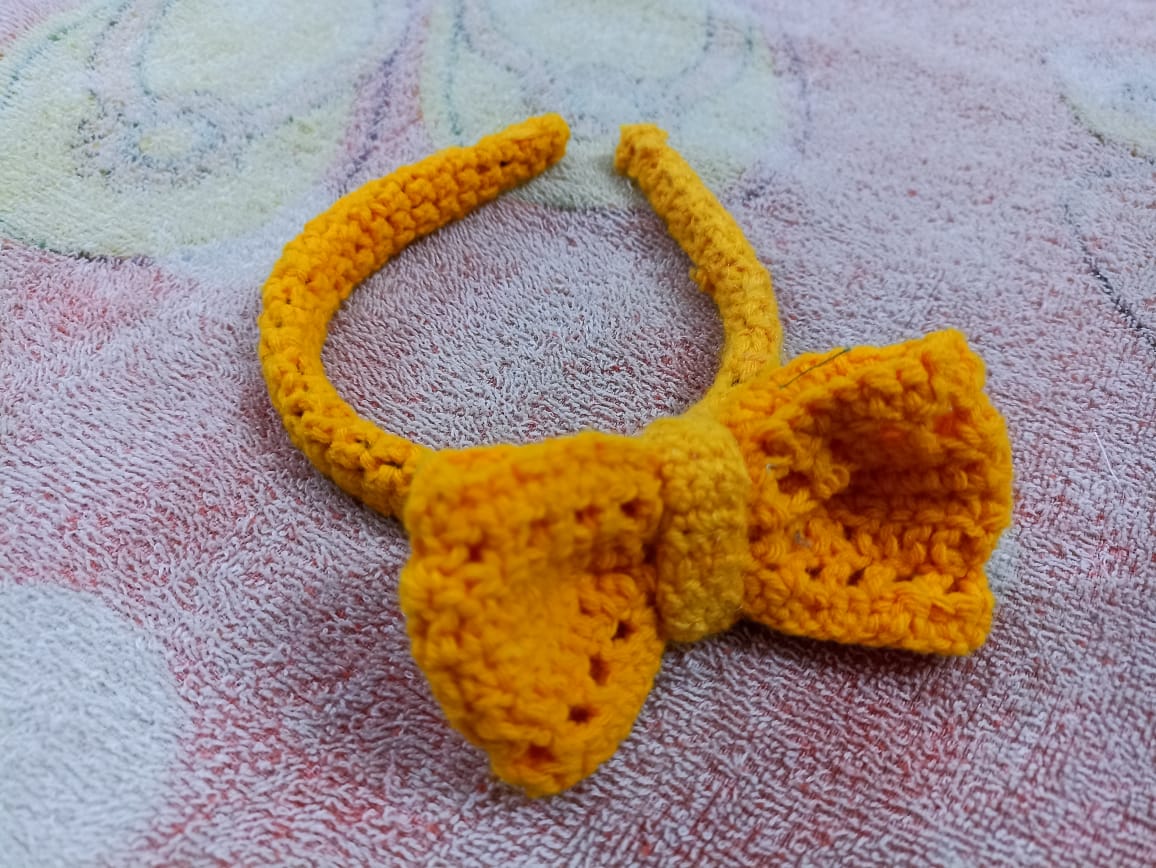
Choosing Yarn and Hook for a Soft Band
Use a medium-weight yarn and a hook one size smaller than the label suggests if you want a firm band that does not stretch out. A firm band stays in place better than a loose one, which slides down during the day. Make a small swatch of ten stitches and measure it, because headband fit depends on gauge more than on stitch count. If your swatch is wider than expected, switch to a smaller hook rather than changing the pattern.
Pick a hook with a comfortable grip, since you will work the band in one long piece. Metal hooks slide smoothly through cotton, while bamboo hooks give more control with slippery yarn. Keep the same hook for the band and the flowers so the stitches match in size. If your hands tire, take a short break and stretch your fingers instead of gripping tighter, which makes the stitches uneven.
Working the Band to the Right Length
Measure around your head where the band will sit, usually across the forehead and behind the ears. Subtract about one inch for a snug fit, because crochet stretches slightly with wear. Chain the starting row to that length, then work rows of single crochet or half double crochet until the band is about two inches wide. A narrower band looks delicate, while a wider band holds more hair back and gives more room for flowers.
Check the length against your head as you work, and stop when the ends meet comfortably without pulling. Join the ends with a slip stitch seam or sew them together with a yarn needle. Weave in the ends on the inside of the band so they do not show or scratch. A band that fits well will stay put without a clip or pin.
Crocheting Simple Flower Appliques
Each flower starts with a magic ring or a short chain joined into a loop. Work five petals by chaining and double crocheting into the center ring, then slip stitch to join each petal. Keep the petals the same size by counting stitches carefully, because uneven petals make the flower look lopsided. A small flower with five petals and a contrasting center is a classic choice that reads clearly from a distance.
Make three to five flowers per headband, depending on the size you want. A single large flower at the side looks elegant, while a row of small flowers looks playful. Add a tiny button or a French knot center to each flower for a finished look. Block the flowers by pinning them flat and misting them lightly with water, then letting them dry. Blocking evens out the petals and makes the flowers sit flat on the band.
Attaching Flowers Without Puckering
Pin the flowers to the band before you sew so you can check the placement. Space them evenly or cluster them to one side, and try the band on to see how the arrangement looks. Sew each flower with a yarn needle and matching thread, stitching through the back of the flower and the band. Use small stitches that do not show on the front, and knot the thread on the inside of the band.
Do not pull the thread too tight, because that puckers the band and makes the flower cup inward. Sew around the center of the flower first, then add a few stitches under two opposite petals for security. If a flower still lifts at the edges, add one more stitch under each petal. Check the back of the band for loose ends and trim them close. A well-attached flower survives washing and daily wear without flopping.
Styling Headbands for Spring Outfits
Wear the headband with hair down for a relaxed look, or with a low ponytail to show off the flowers. A cream or pastel band goes with most spring colors, while a bold band can anchor a plain outfit. Pair a floral headband with simple earrings so the accessories do not compete. For a dressier event, choose flowers in one color and keep the band narrow.
Wash the headband by hand in cool water with mild soap, and dry it flat so the flowers keep their shape. Reshape the petals while the piece is still damp. Store the headband flat in a drawer rather than hanging it, which stretches the band. With gentle care, a crocheted headband lasts through many springs. When the flowers fade, you can sew on fresh ones and give the same band a new look.
Still curious? The related reads below dig deeper, starting with How to Crochet a Cat Bed with Bulky Yarn.
Related Articles:
- How to Crochet a Cat Bed with Bulky Yarn
- How to Crochet a Pumpkin with a Twisted Stem
- How to Crochet an Amigurumi Cat with a Striped Tail
Tried this project?
Show us how yours turned out in the comments — your version might be exactly the inspiration another maker needs.
If this tutorial helped, share it with a fellow crafter.