
6 min read
Linocut printmaking turns a simple carved block into bold, graphic prints that look impressive on paper, fabric, and cards. The process is direct and forgiving: you carve a design into a soft block, roll ink over the surface, and press it onto paper by hand or with a spoon. You do not need a printing press, and the basic supplies cost less than a dinner out. Linocut suits beginners because the tools are easy to control and mistakes can be worked into the design. This guide takes you from your first sketch to a finished edition of prints.
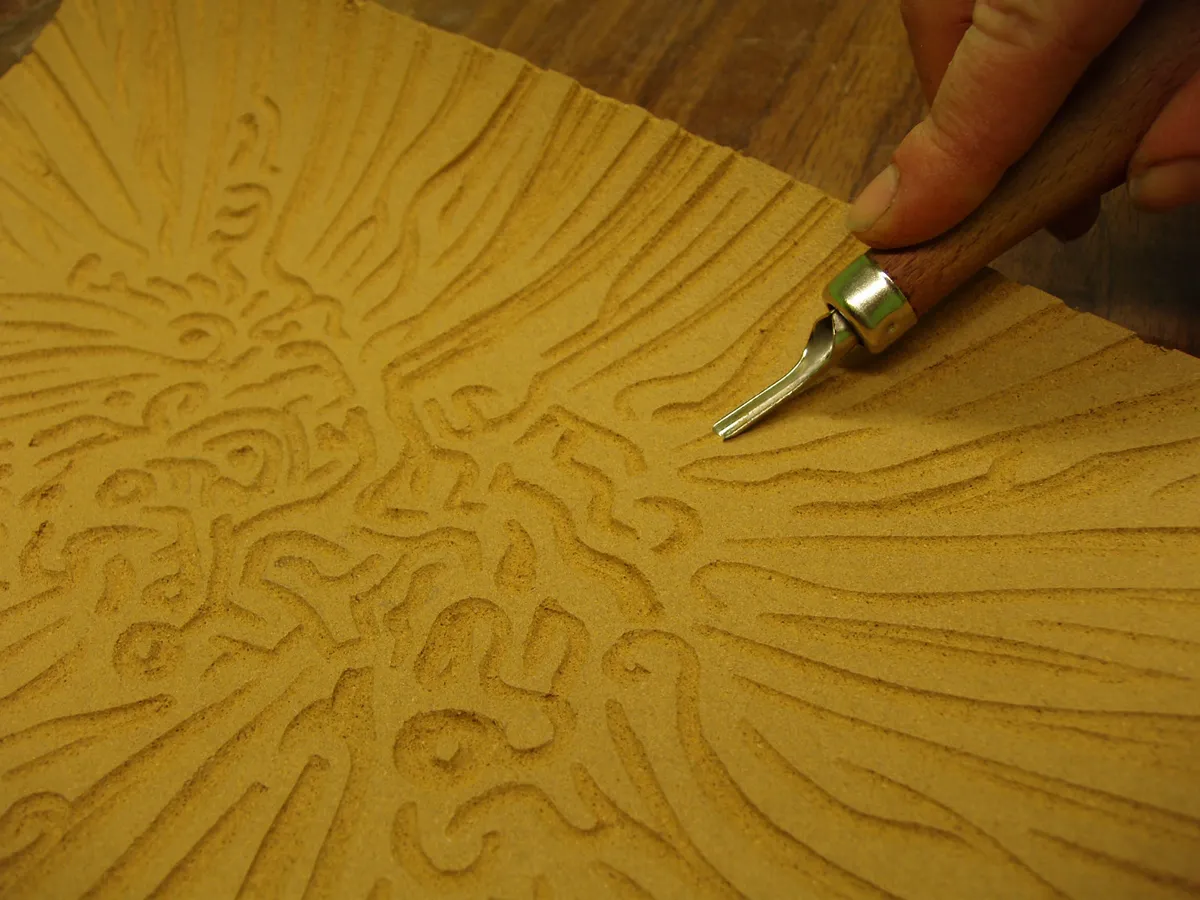
Tools and Materials
Start with a soft-cut carving block, which is much easier to carve than traditional gray linoleum and is widely sold for beginners. A set of carving tools with a V-gouge, a U-gouge, and a small knife will handle most designs. You will also need water-based block printing ink, a brayer for rolling the ink, a sheet of glass or a smooth tile for inking, and smooth paper such as cartridge paper or printmaking paper. A baren or a large metal spoon works for pressing the print by hand. Keep a pencil, tracing paper, and a craft knife nearby for transferring and refining the design.
Choose ink made for block printing rather than ordinary paint, since block ink is thick enough to coat the block evenly without running into the carved lines. Start with black ink, which shows the contrast of the design most clearly and is the most forgiving color for beginners. Paper matters too: smooth, medium-weight paper picks up ink cleanly, while rough watercolor paper can leave white flecks in the printed areas. Buy a small stack of test paper for practice prints, and save your best paper for the final edition. A dedicated workspace with a washable surface makes cleanup much easier.
Designing Your First Print
Begin with a bold, simple image that relies on strong shapes rather than fine detail. Leaves, birds, cats, mugs, and geometric patterns all translate well into linocut, because the carved lines need to be wide enough to print clearly. Sketch the design on paper at the same size as the block, and keep the lines thick and confident. Remember that the printed image is a mirror image of the block, so any text must be drawn in reverse. Transfer the sketch to the block by rubbing the back of the tracing paper with a pencil, or by drawing directly onto the block with a soft pencil.
Plan which areas will print black and which will stay white, and mark the white areas with a light wash of paint or a marker so you do not carve the wrong section. Beginners often carve too much, so leave more black area than you think you need on the first block. You can always carve away more material later, but you cannot add it back. Simplify the design ruthlessly: a print with three strong shapes usually looks better than a busy print with twenty small details. Step back from the sketch and check that the composition reads clearly from a distance before you start carving.
Carving the Block
Carve with the blade moving away from your body, and keep your free hand behind the cutting edge at all times. Start with the V-gouge to outline the main shapes, then clear the larger white areas with the U-gouge. Work slowly and test the block often by making a quick pencil rubbing on thin paper, which shows you how the print will look. A shallow, even carving depth of about two millimeters is enough for a clean print. Carving too deep makes the block fragile, while carving too shallow lets ink creep into the white areas and muddy the image.
Carve the fine details last, when the main shapes are already established. Small lines and dots need a light, controlled touch, and it helps to rotate the block rather than twisting your wrist. If you slip and cut a line you did not want, do not panic: you can often turn the mistake into a texture or a new detail. Linocut prints have a handmade character, and small irregularities are part of their charm. Clean the carved block with a soft brush to remove crumbs, and check the surface in good light before you start inking. A clean, well-carved block prints far better than a dusty one.
Inking and Printing
Squeeze a small line of ink onto the glass, and roll it out with the brayer until it is thin, even, and slightly tacky. The ink should make a soft hissing sound as the brayer rolls through it. Roll the ink onto the block in several directions, using light, even pressure. The raised surfaces should look glossy and evenly coated, while the carved areas stay clean. Too much ink floods the fine lines, and too little leaves patchy gaps, so aim for a thin, velvety layer. Re-ink the block before every print for consistent results.
Lay the paper over the inked block, aligning it carefully, and press firmly with the baren or the back of a spoon. Work from the center outward in small circles, applying steady pressure across the whole surface. Peel the paper back slowly from one corner to reveal the print. If parts of the image look faint, you may need more pressure or a slightly thicker layer of ink on the next print. If the lines look blobby, use less ink. Make several practice prints before you start your final edition, and keep notes on what worked so you can repeat it.
Finishing and Editioning
Let the prints dry flat for at least twenty-four hours, since block printing ink stays tacky for a while. Handle the prints by the edges to avoid smudging the ink. When the prints are dry, sign and number them in pencil below the image, following the traditional format of edition number over total, such as 3/10 for the third print in an edition of ten. Trim the prints to a consistent size with a paper cutter or a sharp craft knife and a metal ruler. A clean, even border makes the prints look professional and ready to frame or sell.
Store finished prints between sheets of clean paper in a flat folder, away from direct sunlight. Clean your tools with warm soapy water while the ink is still wet, since dried block ink is much harder to remove. Wash the brayer, the glass, and the carving tools, and dry the block thoroughly before storing it. A well-cared-for block can be reprinted months later, so keep it in a labeled envelope. Linocut is a wonderfully addictive craft: once you have made your first edition, you will start seeing potential prints in every sketch, leaf, and street scene you notice.
There is plenty more to try. The list below leads off with Acrylic Painting Crafts: Apartment Decor Ideas with Dried Flowers — a good place to continue.
Reference: At Home — Wikipedia