
5 min read
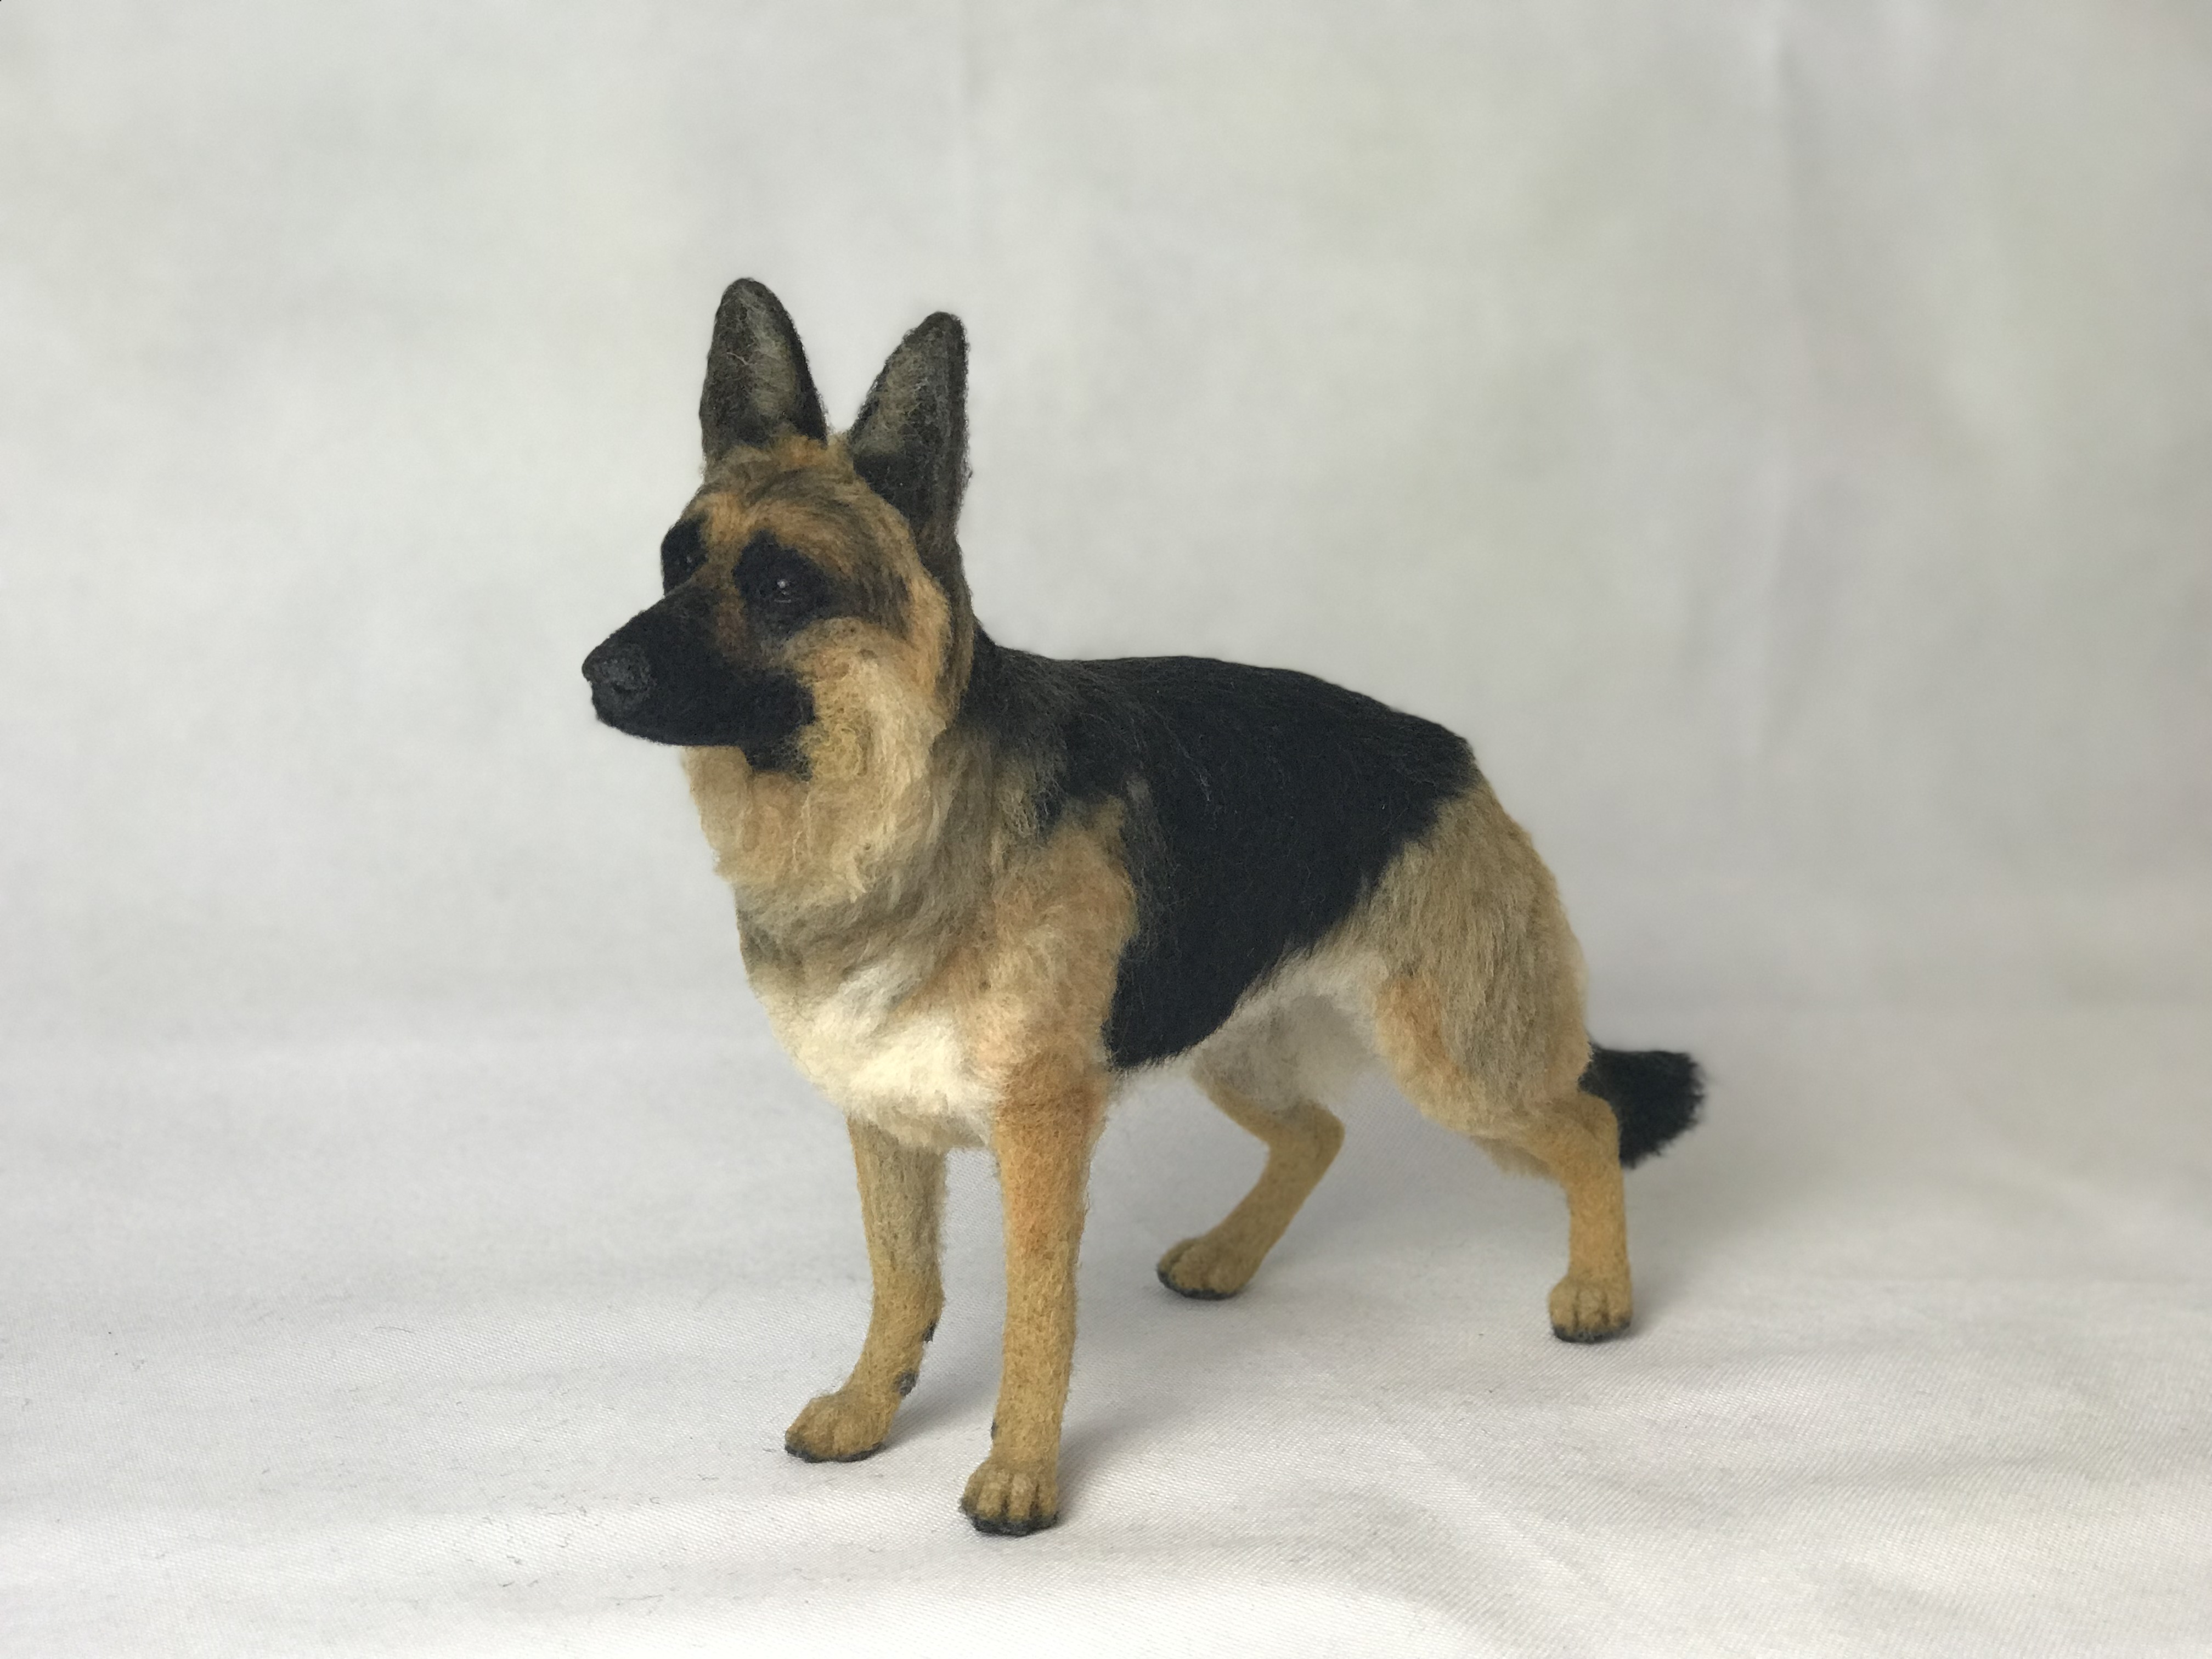
Needle-felted animals with wool roving are small, soft sculptures made by poking loose wool with a barbed needle until it holds its shape. The process is slow and soothing, and the results look charming even on a first try. You can make a simple animal, like a sheep or a mouse, in one evening. The project needs only wool, felting needles, and a foam pad.
Needle felting is forgiving, since you can always add more wool to fix a thin spot or reshape a lump. There is no sewing, no glue, and no pattern to follow exactly. Start with a simple animal shape and add details as you gain confidence. Keep your fingers clear of the needle, since felting needles are sharp and barbed. Work slowly and keep your fingers behind the needle path, not beside it.
Wool and Needle Choices
Use core wool roving for the inner shape and colored wool roving for the outer layer. Core wool is cheaper and felts quickly, while colored wool gives the animal its coat. Buy wool in natural colors like white, gray, brown, and black for animals. A small bag of each color is enough for several small animals. Buy an extra bag of core wool, since every animal starts with a core shape that uses the most wool.
Choose felting needles in two sizes: a coarse thirty-six gauge needle for shaping and a fine forty-gauge needle for detail. A needle with a triangular cross-section felts faster than a star needle, while a star needle gives a smoother finish. Keep spare needles on hand, since they break if you bend them. Hold the needle straight up and down as you poke, and never force it sideways.
Building a Core Shape
Pull off a generous tuft of core wool and roll it loosely into a ball for the body. Poke the ball repeatedly with the coarse needle, turning it often so it firms up evenly. The wool will shrink and harden as you poke it. Keep poking until the ball feels firm and holds its shape when you set it down. A firm core makes the rest of the animal easier.
Make smaller balls for the head and the muzzle, and poke them onto the body while the wool is still slightly loose. Join pieces by poking through the seam many times until the fibers tangle together. If a piece feels wobbly, add a small tuft of wool at the joint and poke it in. Work on a foam pad so the needle has a soft surface to land on. A foam pad also protects your table from needle marks and keeps the wool from sliding.
Adding Color and Features
Wrap a thin layer of colored wool around the core shape and poke it in with the fine needle. Use small tufts at a time, since a thick layer is hard to felt evenly. Add the color in patches that match the animal: white for a sheep belly, brown for a dog back, pink for inner ears. Blend the edges by poking across the boundary between colors.
Add the eyes last, using small black beads or tiny balls of black wool poked firmly into place. A nose can be a small triangle of dark wool or a bead. Keep the features small and centered, since large features make the animal look cartoonish. Step back often to check the face, since a small shift in eye placement changes the whole expression. Eyes placed too high make an animal look surprised, while eyes placed too low make it look sleepy.
Shaping Legs and Ears
Roll small cylinders of core wool for the legs, and poke them onto the body at even points. Keep the legs short for a sitting animal, or longer for a standing one. For ears, felt two small flat triangles and attach them to the head with many pokes at the base. Ears that are too thin will flop, so make them slightly thicker than you think they need to be.
Check that the animal stands or sits without tipping. If it leans, add a little wool to the light side and poke it in. Adjust the legs by poking more on one side to shorten it. A stable animal displays better and survives handling. Take your time with this step, since a lopsided animal is hard to fix once the details are on.
Finishing and Displaying
Go over the whole animal with the fine needle to smooth the surface and firm up any soft spots. Trim any stray fibers with small scissors. Add a tiny blush of pink wool on the cheeks for a sweet touch, if you like. A finished needle-felted animal should feel firm and look tidy from every angle. Check the seams once more before you display it.
Display the animal on a shelf, a desk, or a windowsill away from direct sun, which can fade the wool colors. Keep it away from pets that might mistake it for a toy. A group of small felted animals in different poses makes a charming display. Arrange the animals by size or by type for a display that looks planned rather than random. With practice, you can make a whole felted farm, forest, or family of pets.
That is the short version. For the longer one, work through the Fiber Arts guides below.
Related Articles:
- How to Embroider a Floral Hoop with a Lazy Daisy Stitch
- How to Needle Felt a Small Fox Figurine
- How to Weave a Placemat on a Small Frame Loom
Tried this project?
Show us how yours turned out in the comments — your version might be exactly the inspiration another maker needs.
If this tutorial helped, share it with a fellow crafter.