
5 min read
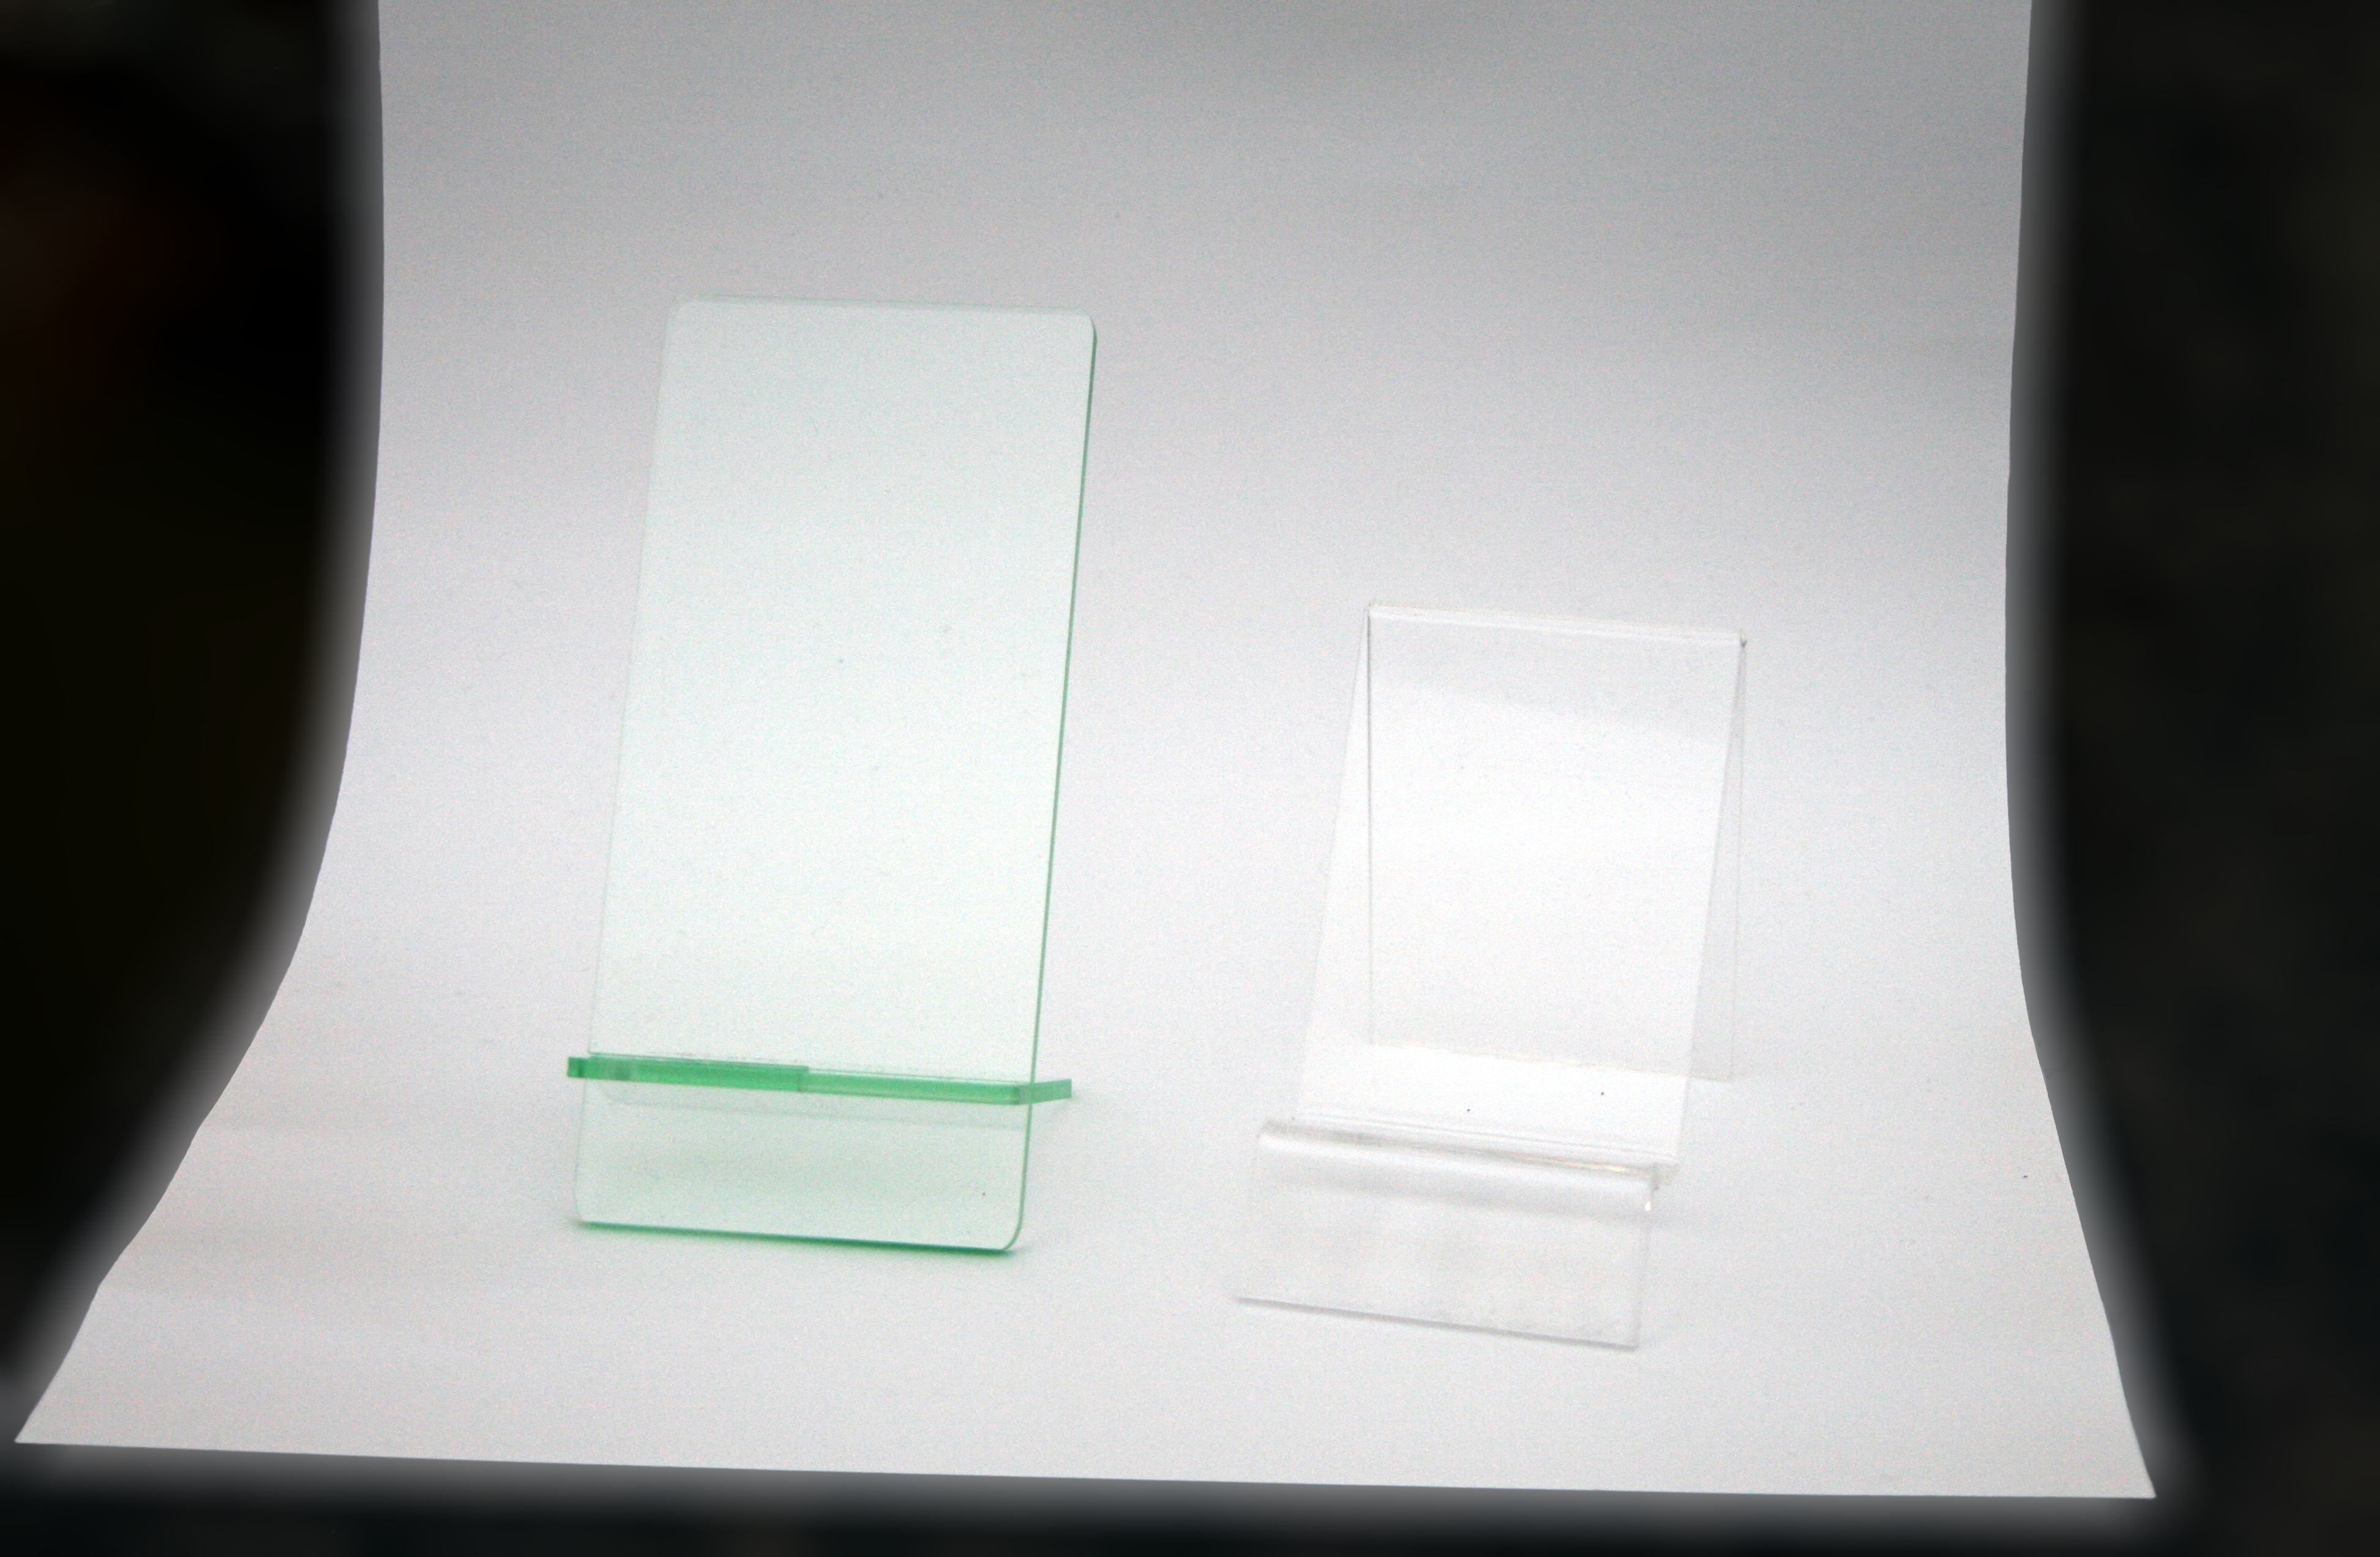
A 3D printed phone stand with a cable slot keeps your phone upright on your desk while it charges, and you can print one at home for the cost of a few grams of filament. The design is simple: a angled cradle that holds the phone, a slot for the charging cable, and a wide base that does not tip over. You can scale the stand to fit your phone and choose a color that matches your desk. The project is a good first functional print.
Measure your phone with its case on before you design or download a model, since a stand that fits a bare phone will not fit a cased one. Note the phone width, thickness, and where the charging port sits. A stand with a cable slot at the bottom lets the phone charge while it stands upright. A slot also keeps the cable from tangling with other desk items. Check that the stand angle suits your viewing habits, since a steep stand is better for video calls and a shallow one for glancing at notifications.
Design Choices for Stability
A stable phone stand needs a wide base and a low center of gravity. A base about four inches wide and three inches deep resists tipping when you tap the screen. Add a slight lip at the front of the cradle so the phone cannot slide forward. A back support angled between sixty and seventy degrees holds the phone upright without letting it fall backward.
Include a cable slot in the base that lines up with your phone charging port. The slot should be wide enough for the cable plus a little room, about half an inch wide. A slot that is too tight will pinch the cable, while one that is too wide lets the phone wobble. Test the design by printing a small test piece of the cradle before you commit to a full print.
Printer Settings for Strength
Print the stand with at least forty percent infill so it feels solid and does not crack under the phone weight. A gyroid or grid infill pattern spreads the load evenly. Use three wall lines for a sturdy shell, and a layer height of 0.2 millimeters for a good balance of speed and surface quality. PLA filament works well for a desk stand, since it is easy to print and holds its shape at room temperature.
Orient the stand on the build plate so the largest flat face sits down. This orientation gives the best adhesion and the strongest base. Add a brim if the base is narrow, since a stand that lifts off the plate mid-print will fail. Level the bed and clean it before you start, because a first layer that does not stick ruins the whole print.
Printing the Stand
Slice the model and check the preview layer by layer before you print. Look for floating parts or overhangs that need support, especially under the cradle lip. Enable supports only where needed, since supports add print time and leave marks. A print time of two to four hours is normal for a phone stand at these settings.
Watch the first few layers to confirm adhesion, then let the printer run. Check on the print every thirty minutes to catch problems like layer shifts or filament tangles. If the print fails, save the failed piece and check the slicer preview for the cause. Most failures come from poor bed adhesion or a clogged nozzle, both of which are easy to fix.
Cleaning Up Supports
Remove the printed stand from the build plate once it cools, and snap off the supports carefully. Use flush cutters or pliers for tight spots, and work slowly so you do not break the cradle. Sand any rough spots with fine sandpaper, starting at one hundred eighty grit and moving to three hundred twenty. A smooth finish looks better and feels nicer when you handle the stand.
Check the cable slot after cleanup and clear any stringing or blobs that narrow it. Test the slot with your charging cable to confirm it fits. If the slot is too tight, widen it carefully with a small file. If the stand wobbles, sand the base flat on a sheet of sandpaper laid on a table. A few minutes of cleanup makes the difference between a rough print and a polished desk accessory.
Testing the Cable Slot
Place the phone in the stand and thread the cable through the slot to the charging port. The phone should sit steady and charge without the cable pushing it off balance. Tap the screen as you would during a video call and check that the stand does not tip. If the phone rocks, add small felt pads to the base or print a wider version.
Use the stand for a full day to see how it handles real use. A good stand holds the phone through calls, messages, and charging without adjustment. Test the stand with the case on and off, since the fit can change with a thicker case. If the angle feels wrong, adjust the model and reprint rather than settling for a stand you do not like. A 3D printed phone stand is a small project that makes your desk tidier and your phone easier to use.
Enjoyed this? 3D Printed Cookie Cutters with Custom Shapes for Holiday Baking picks up right where this leaves off.
Related Articles:
- 3D Printed Cookie Cutters with Custom Shapes for Holiday Baking
- 3D Printed Cable Organizers for Home Offices
- 3D Printed Desk Organizers with Modular Compartments
Tried this project?
Show us how yours turned out in the comments — your version might be exactly the inspiration another maker needs.
If this tutorial helped, share it with a fellow crafter.