
5 min read
A rag quilt baby blanket with flannel squares is one of the softest gifts you can make for a nursery. Flannel gets softer with every wash, and the clipped seams bloom into a fluffy fringe that babies love to touch. The construction is simple: stack three layers, sew an X through each block, then join the blocks with seams facing outward. The project is forgiving, and small imperfections disappear once the fringe fluffs up. The clipped fringe hides small stitching mistakes, so beginners can relax and enjoy the process.
Rag quilts are also a good first quilting project because there is no binding to attach and no quilting hoop to manage. You can finish a crib-size blanket in a weekend with a basic sewing machine. Choose prints that coordinate but do not need to match perfectly, since the ragged seams give the blanket a casual, handmade look. Wash and dry all flannel before cutting, because flannel shrinks noticeably.
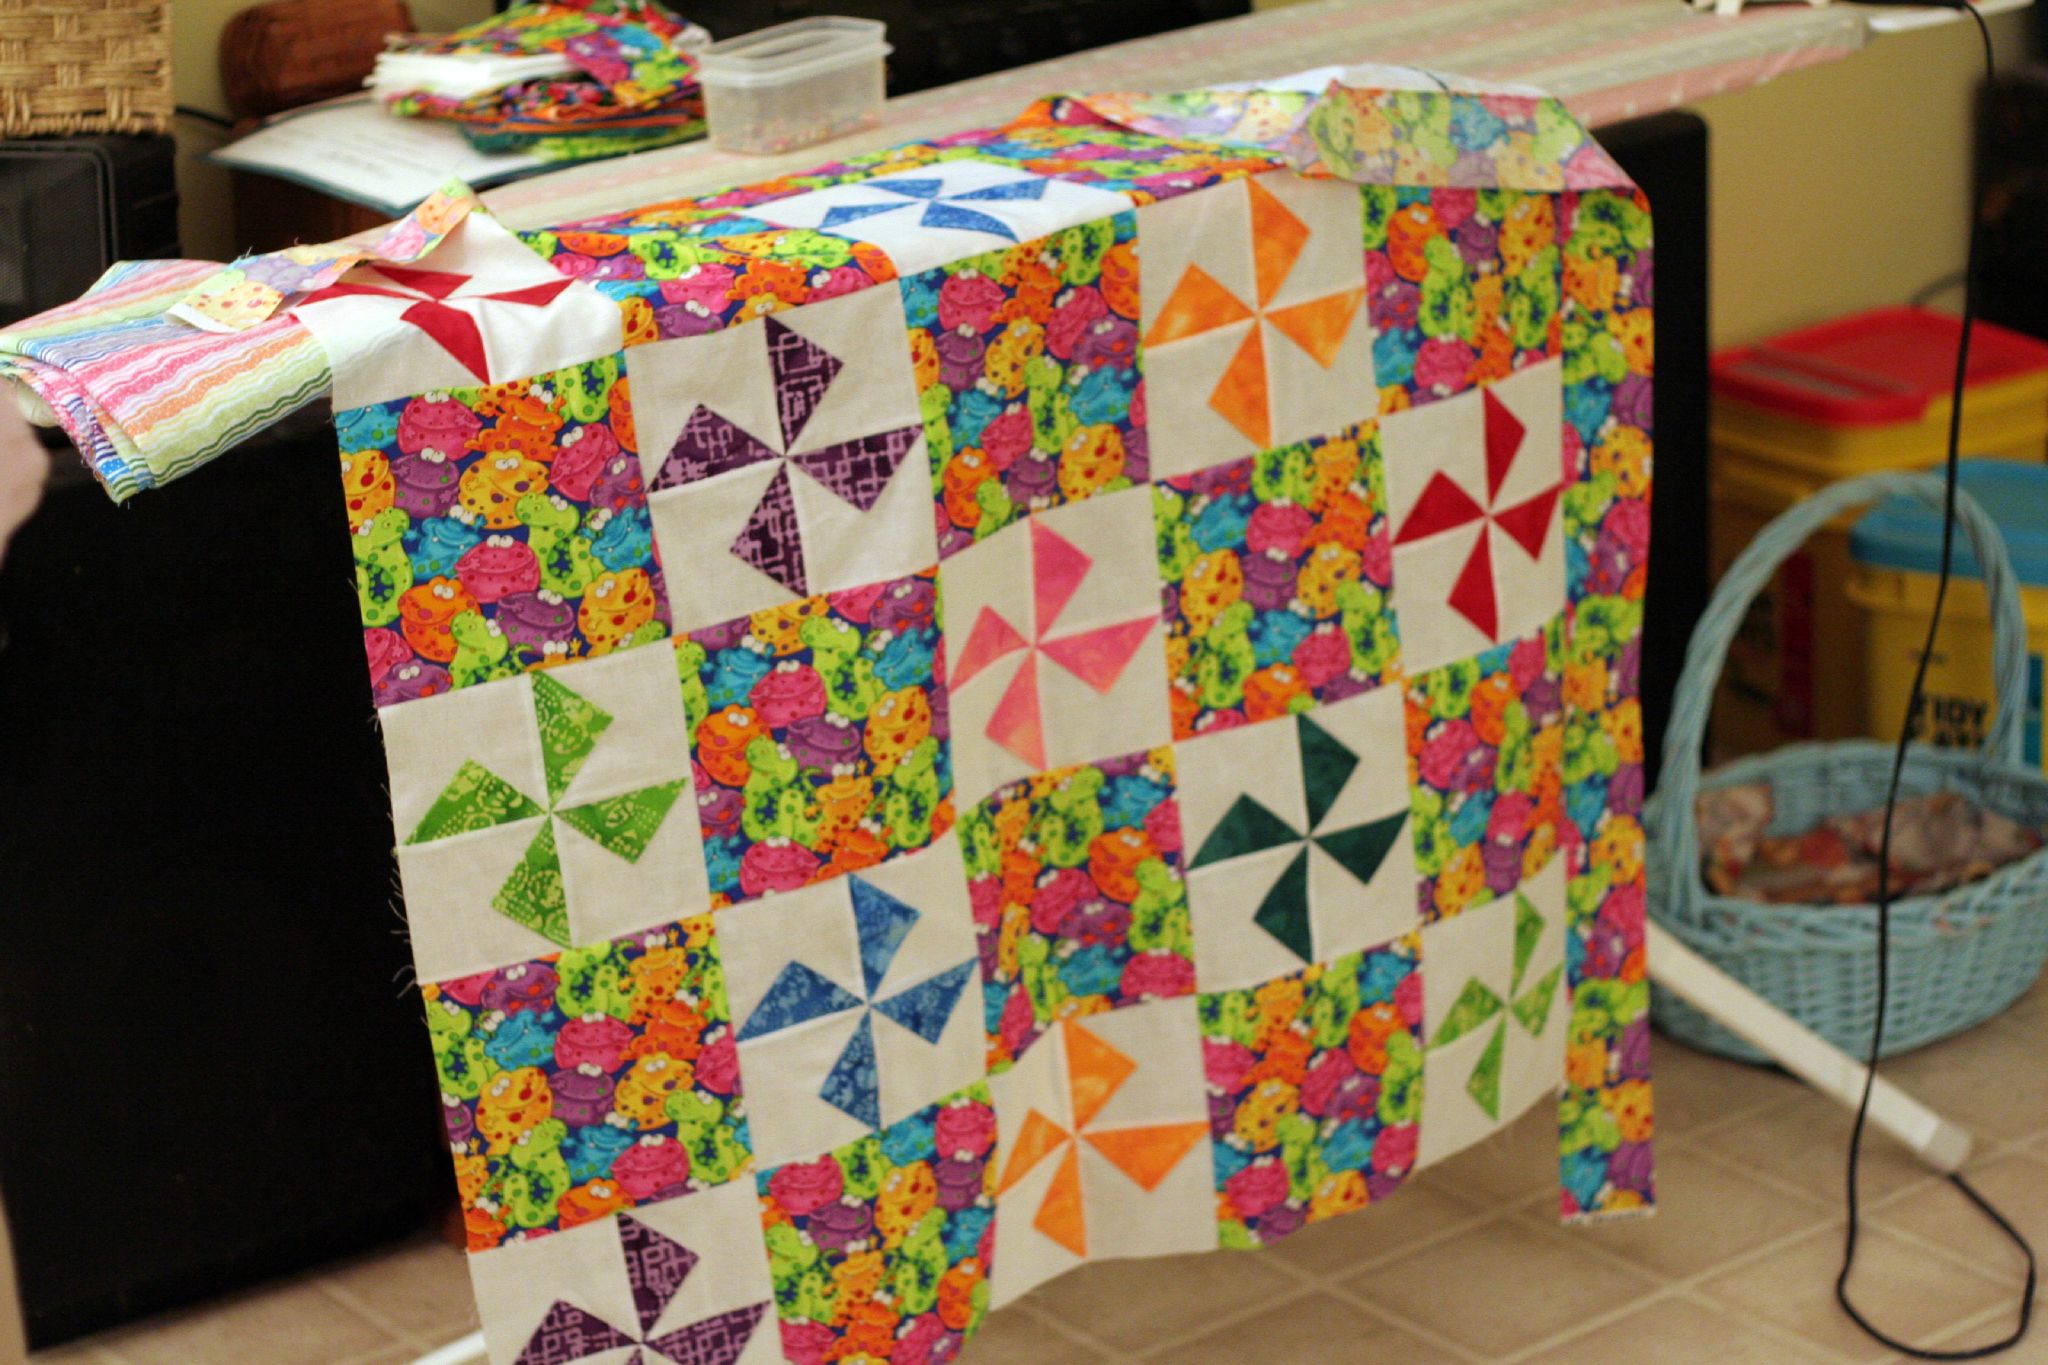
Choosing Flannel That Washes Well
Pick one hundred percent cotton flannel for the top and a soft flannel or cotton batting for the middle. Cotton flannel frays well, which is exactly what you want for the ragged seams. Avoid polyester flannel, which frays poorly and can feel slippery. Hold the fabric up to the light: a dense weave with a soft nap will last longer than a thin, see-through flannel.
Choose three to five coordinating prints in a mix of large and small patterns. A large floral or animal print looks good next to small dots or stripes. Keep the color palette limited so the blanket reads as a set. Prewash every print in warm water and dry it on medium heat, then press it before cutting to remove shrinkage and wrinkles. For a nursery, soft pastels or gentle earth tones work well. Buy a little extra fabric for mistakes, since flannel can shift while you cut.
Cutting Squares and Backing
Cut squares of seven inches for a standard rag quilt, which leaves a half-inch seam allowance on each side and a six-inch finished block.
For a crib blanket about thirty-six by forty-eight inches, you need
- six squares across
- eight squares down
- forty-eight blocks
Cut the same number of backing squares and batting squares. A rotary cutter and a quilting ruler make this step fast and accurate.
Stack each block as a sandwich: backing square face down, batting in the middle, and top square face up. Pin each sandwich with one pin through the center. Keep the stacks organized by fabric so you can lay out the pattern later. If the batting shifts, trim it a quarter inch smaller than the fabric squares so it does not peek out of the seams.
Sewing the Quilt Sandwich
Sew an X across each sandwich from corner to corner, stitching through all three layers. The X holds the layers together and keeps the batting from shifting in the wash. Use a slightly longer stitch length than usual, about three millimeters, so the seams stay flexible. Backstitch at the start and end of each line to lock the stitches.
Check that each X is centered and that the layers stay flat. If a sandwich puckers, press it gently and restitch the line. Chain-piece the blocks by sewing one X line on all blocks, then the second line, which saves thread and time. Press each finished block lightly from the back so the X stitching stays crisp and the layers lie flat. Stack the finished blocks in rows as you go so you can plan the layout before you join them.
Clipping Seams for the Rag Look
Lay out the blocks in rows and join them with the seams facing up, which is the opposite of a normal quilt. Sew the blocks together with a half-inch seam allowance, and press the seams open. Join the rows the same way, matching the seams at the corners. The raw seam allowances will stand up on the front of the quilt, and that is exactly what you want.
Clip every seam allowance every quarter inch, cutting close to but not through the stitching line. Spring-loaded rag quilt scissors make this step much faster and easier on your hands. Clip the outer edge of the blanket too, so the border fringes like the rest. Take your time with this step, because even clipping makes the fringe look full and even. Vacuum the clipped threads off the quilt before washing.
Washing and Drying the Finish
Wash the quilt on a gentle cycle with a small amount of detergent, and check the lint trap halfway through. The first wash creates the most lint, so you may need to clean the trap twice. Dry the quilt on medium heat, which helps the clipped seams bloom into fringe. A second wash and dry makes the fringe even fluffier.
Inspect the quilt after drying and trim any long threads that did not fray evenly. Check the seams for any clipped stitches, and repair them with a short line of stitching. The finished blanket should feel soft and look delightfully scruffy. Wrap it in tissue paper for gift-giving, and include a note that the blanket gets softer with every wash. A finished rag quilt makes a welcome baby shower gift that parents reach for again and again. A rag quilt is a gift that grows more lovable the more it is used.
Take the next step when you are ready: Disappearing Nine Patch Quilts for Beginners is waiting below, along with more Quilting crafts reads.
Related Articles:
- Disappearing Nine Patch Quilts for Beginners
- Drunkards Path Quilt with Curved Piecing
- Big Stitch Hand Quilting a Table Topper
Tried this project?
Show us how yours turned out in the comments — your version might be exactly the inspiration another maker needs.
If this tutorial helped, share it with a fellow crafter.