
5 min read
Resin paperweights with seashells and beach sand turn a vacation memory into a desk object you can enjoy every day. Clear epoxy resin holds the shells in place and magnifies their colors, while a layer of sand at the base grounds the design. The project takes patience more than skill, because the key is pouring in thin layers and letting each one cure. With the right mold and a dust-free workspace, the result looks like a piece of the shore frozen in glass.
Choose a simple mold shape for your first paperweight, such as
- a dome
- a cube
- a flat round
Silicone molds release easily and give a glossy surface without polishing. Avoid molds with sharp corners, which trap bubbles and make demolding hard. Work in a ventilated room with gloves and eye protection, and cover your table with plastic or parchment paper. Resin stains clothes and surfaces, so keep paper towels within reach.
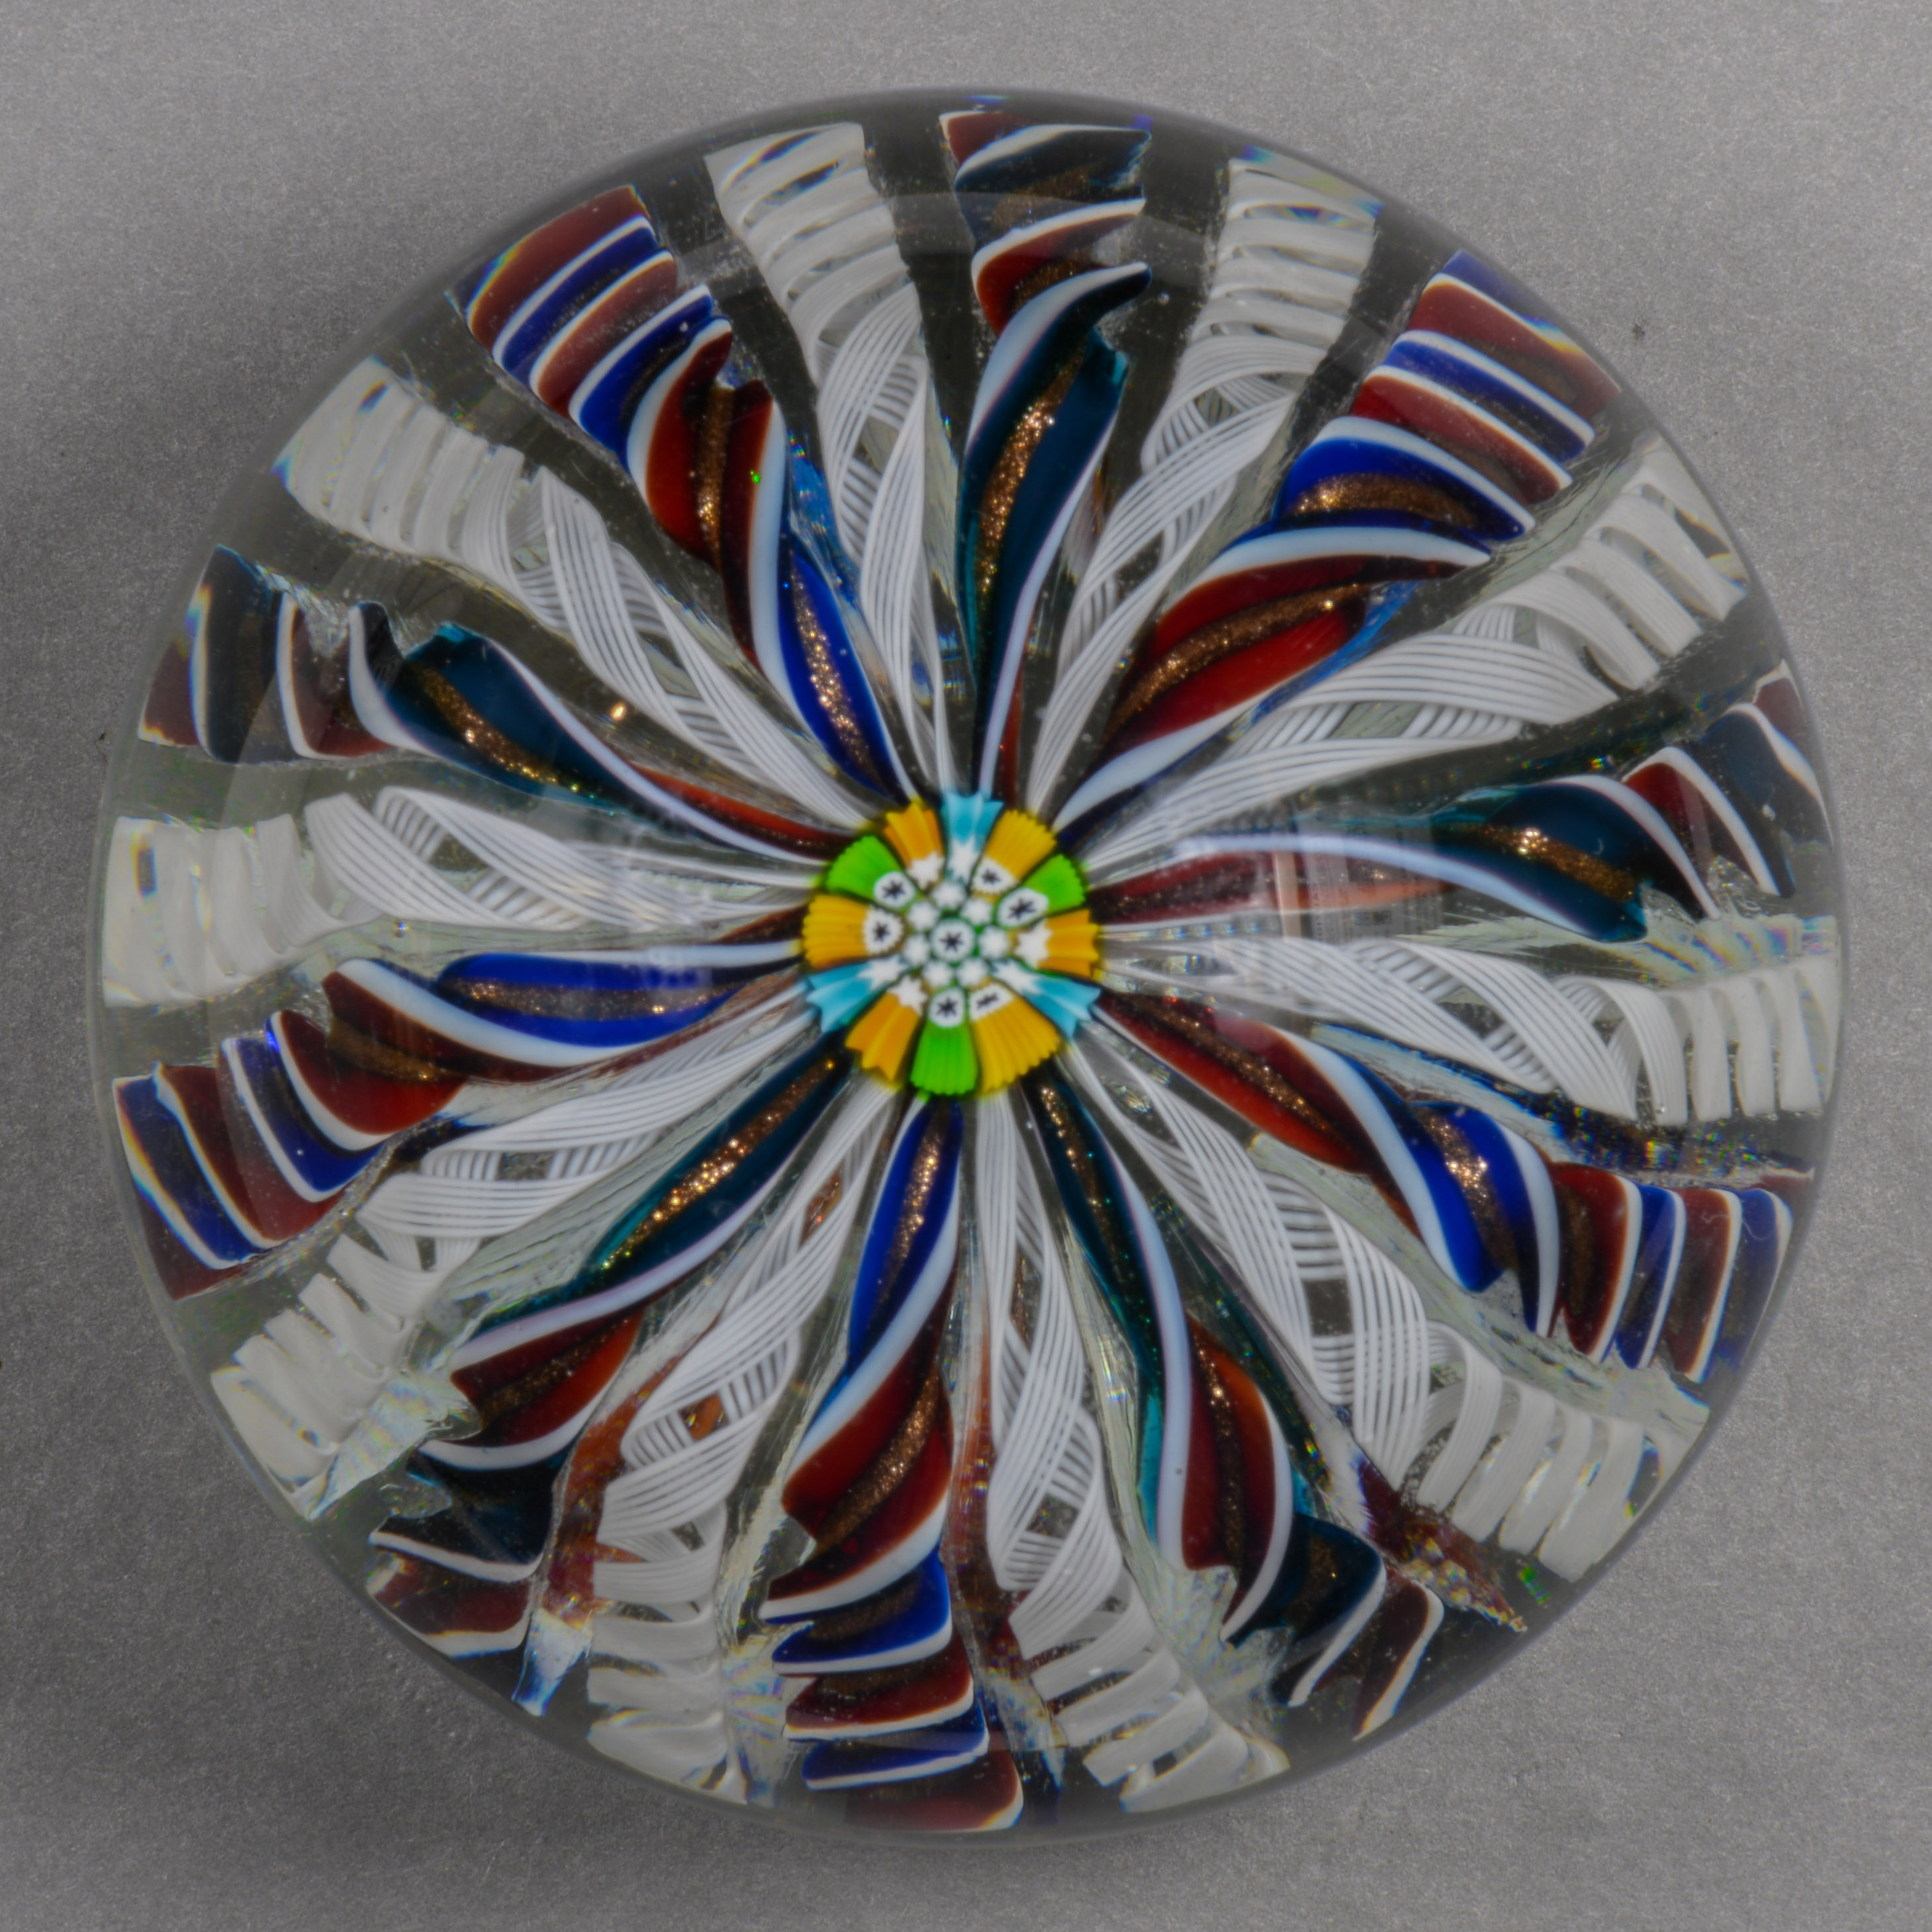
Resin and Mold Choices
Use a clear casting epoxy resin rated for pours of at least half an inch thick. Thin craft resin overheats in deep molds and can yellow or crack. Read the label for the maximum pour depth and the working time. A resin with a thirty-minute working time gives you room to place shells without rushing. Mix only as much resin as you can pour in one layer, because mixed resin that sits in the cup will cure and go to waste.
Pick a mold that is easy to fill and easy to release. Silicone molds in dome or sphere shapes show off shells well. Lightly mist the inside of the mold with mold release if the product recommends it, and let it dry before pouring. Place the mold on a level surface and check with a small level, because resin finds any tilt and cures unevenly.
Preparing Shells and Sand
Wash the shells in warm soapy water and let them dry completely before you use them. Any salt or moisture left on a shell can cloud the resin around it. Pick shells that fit the mold with room to spare, and arrange them on a tray to plan the layout. Small shells, tiny starfish, and pieces of sea glass work well together. Avoid shells with sharp edges that could scratch the mold.
Sift the beach sand through a fine strainer to remove bits of seaweed and large grains. Rinse the sand and let it dry on a tray for a day or two. Dry sand pours evenly and does not clump in the resin. If you want a two-tone base, separate light and dark sand into small cups. Test a spoonful of sand in a cup of mixed resin to check that it does not release bubbles or color.
Pouring in Layers
Mix the resin exactly as the instructions direct, stirring slowly to avoid whipping in air. Pour a thin base layer about a quarter inch deep and let it cure until it is tacky but not liquid. This layer holds the sand in place and gives the paperweight a solid bottom. Sprinkle sand over the tacky layer and press it gently with a stick. Let this layer cure fully before you add shells.
Pour a second layer to cover the sand, then place the shells while the resin is still liquid. Use tweezers to position each shell, and push it down gently so it sits below the surface. Pour a final layer to cover the shells completely, keeping the total pour within the resin maximum depth. If the mold is deep, add the shells in two stages with a partial cure between them so they do not all sink to the bottom.
Removing Bubbles
Bubbles are the most common problem in resin paperweights, and most of them come from stirring too fast or from air trapped in the shells. Stir the resin slowly and let it rest for five minutes before pouring so bubbles rise and pop. After each pour, pass a heat gun or a quick flame over the surface from several inches away to pop surface bubbles. Keep the heat moving so you do not scorch the resin or the mold.
Check the paperweight after an hour and pop any new bubbles that rose from the shells. If bubbles keep appearing, the shells may still hold moisture, so dry them longer next time. Do not overheat the resin trying to chase every bubble, because too much heat can yellow the finish. A few tiny bubbles near a shell look natural and do not ruin the piece.
Demolding and Polishing
Let the paperweight cure for the full time on the resin label, usually twenty-four to seventy-two hours. A paperweight that feels firm on top may still be soft in the center, so do not rush it. Flex the silicone mold gently to release the piece, and work around the edges slowly. If the piece sticks, place the mold in the freezer for fifteen minutes, which helps the resin contract and release.
Inspect the finished paperweight in daylight and check for dust, bubbles, and uneven edges. Sand any rough edge with fine wet sandpaper, starting at four hundred grit and moving up to two thousand. Polish with a resin polishing compound and a soft cloth until the surface shines. With care, a resin paperweight keeps its beach colors for years.
The best way to learn Resin crafts is to keep going. Your next read is right below: How to Make a Resin Bookend with Pressed Flowers.
Related Articles:
- How to Make a Resin Bookend with Pressed Flowers
- How to Make a Resin Pendant Necklace with Glitter and Gold Flakes
- How to Make a Resin Geode Wall Art with Crystal Points
Tried this project?
Show us how yours turned out in the comments — your version might be exactly the inspiration another maker needs.
If this tutorial helped, share it with a fellow crafter.