
5 min read
Easy wood-burning projects for older beginners are a rewarding way to explore pyrography at a comfortable pace. Wood burning uses a heated pen to draw designs onto wood, and the results look impressive with just a little practice. The craft suits older beginners because it needs no strength or speed, only patience and a steady hand. A first project can be finished in a single relaxed afternoon.
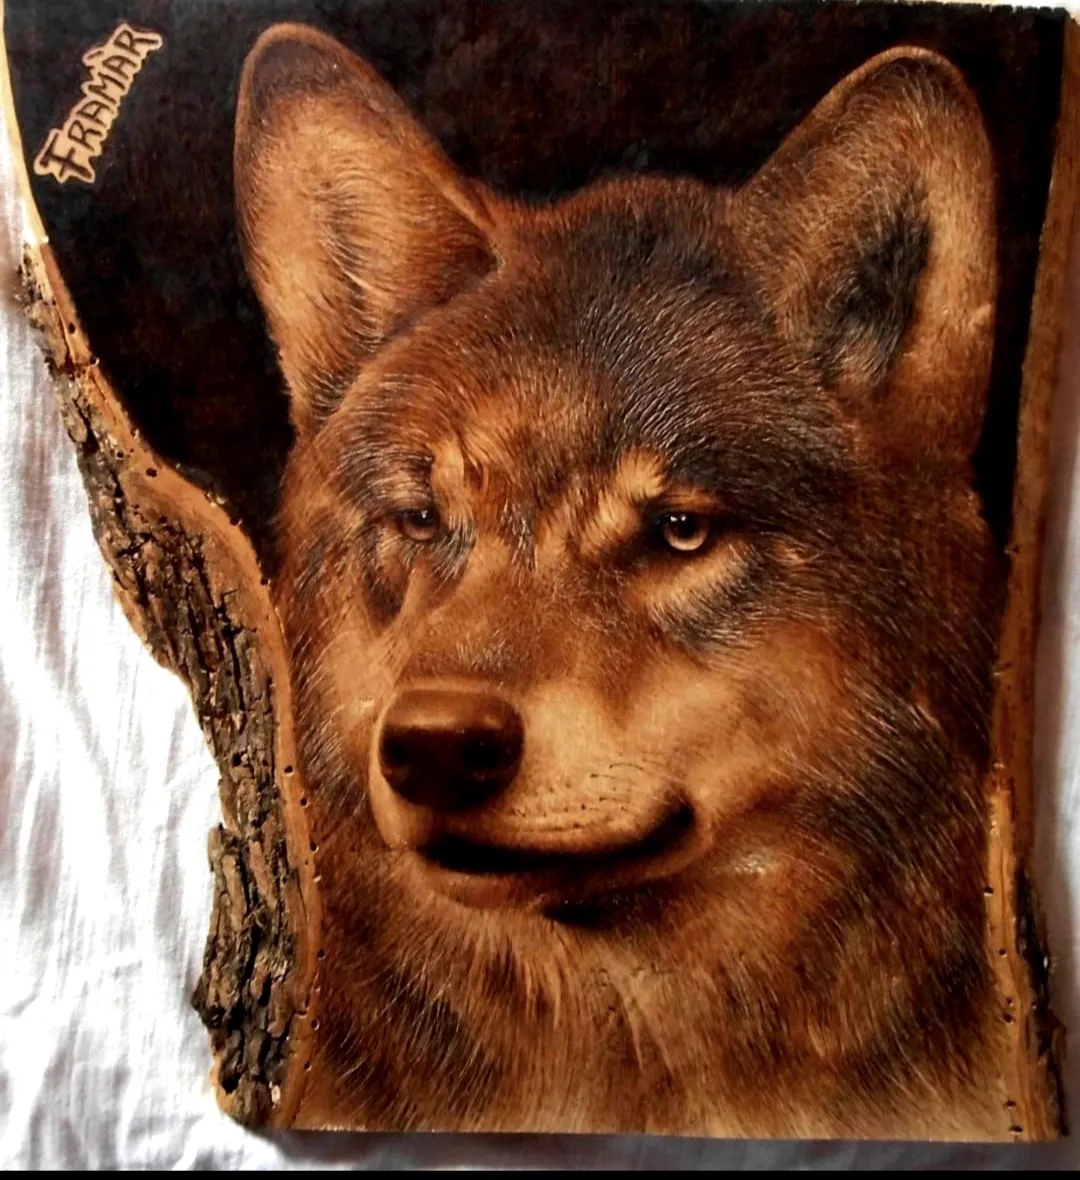
Start with a basic wood-burning pen kit that includes a temperature control and a few tips. A pen with adjustable heat gives more control than a fixed-temperature tool. Choose basswood blanks for your first projects, since basswood burns evenly and has a pale, smooth surface. Avoid pine, which has resinous grain that burns unevenly.
Work in a well-ventilated area, since wood burning produces smoke. A small fan near an open window moves the smoke away from your face. Wear a simple dust mask if you are sensitive to smoke. A comfortable chair and a stable table make long sessions easier on the back and shoulders.
Choosing Tools and Wood
A starter kit with a temperature dial, a universal tip, and a shader tip covers most beginner projects. The universal tip draws lines, while the shader tip fills areas with tone. Buy extra tips only when you know which ones you use most. A quality pen with a cool handle is worth the small extra cost.
Basswood is the best wood for beginners because it is soft, pale, and evenly grained. Plywood with a basswood veneer also works and costs less. Avoid wood with dark grain lines or knots, since they burn darker and disrupt the design. A smooth, pale surface shows the burned lines clearly.
Learning Basic Strokes
Practice on a scrap piece of basswood before starting a real project. Draw straight lines, curves, and dots at different temperatures to see how the pen responds. A slow, steady hand produces an even dark line, while a fast hand produces a light line. Let the heat do the work rather than pressing hard.
Try the shader tip for filling areas with tone. Move the tip in small circles with light pressure for an even fill. A shaded area adds depth to a simple design. Practice shading on scrap wood until the tone looks smooth. Uneven shading is the most common beginner mistake, and practice fixes it quickly.
Transferring a Design
Transfer a design to the wood with graphite paper, which leaves a light line to follow. Place the graphite paper between the printed design and the wood, then trace the design with a pencil. A simple design with bold outlines works best for a first project. Detailed designs with fine lines are frustrating for beginners.
Choose a design with a few clear shapes, such as
- a leaf
- a feather
- a simple animal
A design that fits on a coaster or a small plaque is a good first size. Keep the design large enough that the lines are easy to follow. Small, fiddly details can wait for later projects.
Burning the First Project
Set the pen to a medium temperature and burn the outline of the design first. Work slowly and keep the pen moving at a steady pace. If the line looks too light, go over it again rather than pressing harder. A second pass deepens the line without scorching the wood.
Fill the shaded areas after the outlines are complete. Work in small sections and check the tone often. Step back from time to time to judge the overall design. A finished piece should look balanced, with the darkest areas where the design needs emphasis.
Finishing and Safety
Let the finished piece cool completely before handling it, since the wood stays hot after burning. Sand the edges lightly to remove any rough spots, and seal the piece with a clear finish such as mineral oil or a water-based varnish. A finish protects the design and deepens the wood color. Apply two thin coats for the best result.
Always rest the pen in its stand when not in use, and never leave a hot pen unattended. Unplug the pen when you finish and let it cool in the stand. Keep the work area clear of paper and fabric scraps. With basic safety habits, wood burning is a safe and deeply satisfying craft for older beginners.
For a first finished piece, burn a simple leaf design on a coaster. A leaf has a clear outline and a few shaded areas, which teaches both line and shading. A finished coaster is also useful.
Practice holding the pen like a pencil, with a relaxed grip. A tight grip tires the hand quickly and makes lines wobbly. A relaxed grip gives smoother lines and longer comfortable sessions.
Keep a small sketchbook of design ideas near your work area. A quick sketch captures an idea for a future project. A sketchbook grows into a personal library of designs.
Wood burning is a craft that improves with every project. Each burned line teaches control, and each finished piece builds confidence.
Share your finished pieces with friends and family. A handmade burned plaque is a thoughtful gift that people treasure.
Pick up the pen, choose a simple design, and begin. Your first wood-burning project is closer than you think.
There is always another angle. The guides below explore a few, starting with Simple Crafts for Older Adults: Engaging Hobbies.
Reference: Projects — Wikipedia
Related Articles:
- Simple Crafts for Older Adults: Engaging Hobbies
- Acrylic Painting Crafts for Seniors: Creative Home Decor Ideas
- Basket Weaving Crafts for Seniors: Easy Beaded Home Décor
Tried this project?
Show us how yours turned out in the comments — your version might be exactly the inspiration another maker needs.
If this tutorial helped, share it with a fellow crafter.