
5 min read
Photographing handmade products with natural light is the simplest way to make your work look its best. Natural light shows true colors, softens shadows, and costs nothing. You do not need a studio or expensive equipment to take appealing product photos. A window, a clean background, and a little patience are enough to start.
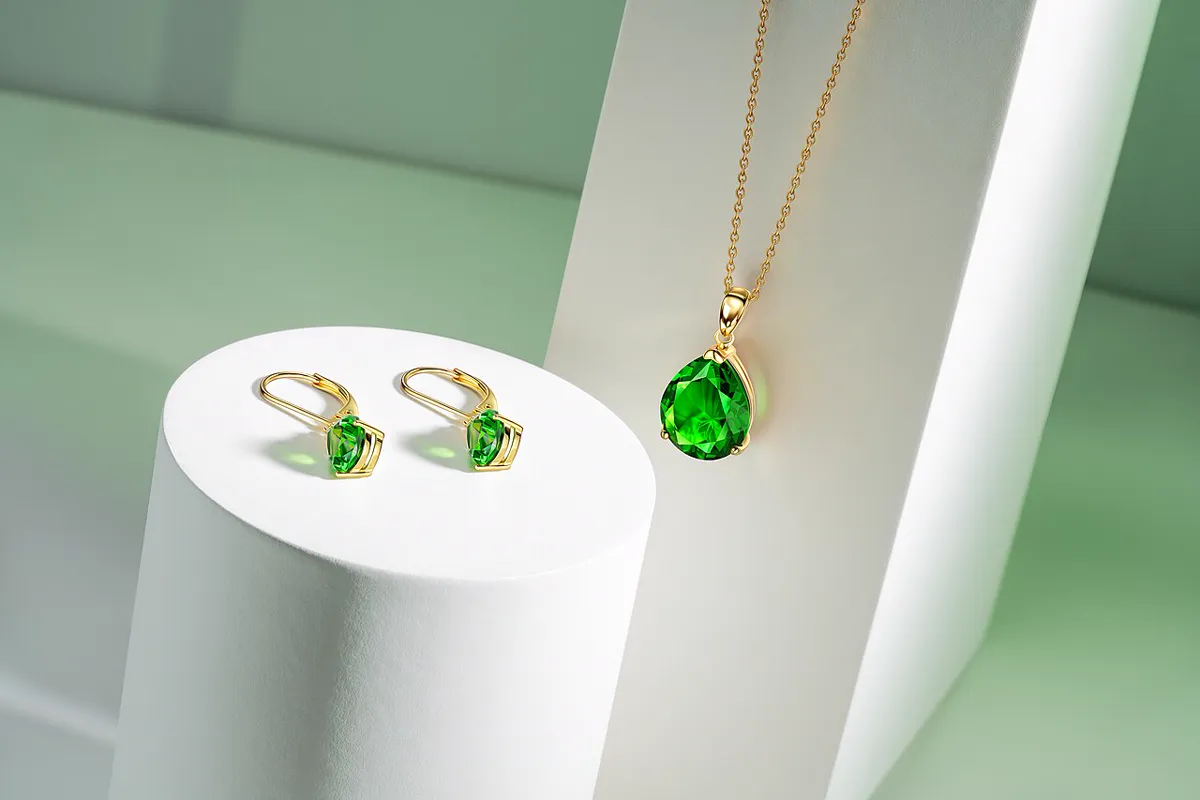
Start by choosing a window that receives bright, indirect light. A north-facing window gives soft, even light all day, while an east-facing window gives gentle morning light. Avoid direct sunlight, which creates harsh shadows and washes out colors. A cloudy day actually gives excellent light for product photography, since the clouds diffuse the sun.
Set up near the window with the product on a clean surface. A white table, a piece of poster board, or a light-colored cloth all work as backgrounds. Keep the background simple so the product stands out. A cluttered background distracts from the product and makes the photo look amateur.
Finding the Best Light
The best light for product photos is bright but indirect. Stand beside the window and hold your hand out to test the light. If the shadows on your hand are soft and faint, the light is good. If the shadows are sharp and dark, the light is too direct. Move the product a little farther from the window or wait for a cloud to soften the sun.
Shoot in the morning or late afternoon when the light is warmer and softer. Midday light is harsher and cooler, which can make colors look flat. If you must shoot at midday, hang a thin white curtain over the window to diffuse the light. A simple diffuser makes a big difference.
Setting Up the Shot
Place the product on the background with the window to one side, not directly behind the product. Side light creates gentle shadows that show the shape and texture of the product. Light from behind the product creates a silhouette, which hides detail. A small reflector on the opposite side bounces light back and softens the shadows.
Use a white piece of cardboard or foam board as a reflector. Hold it opposite the window, just outside the frame, to fill in shadows. A reflector costs almost nothing and improves the photo noticeably. Adjust the reflector angle until the shadows look soft and even.
Composing the Photo
Fill the frame with the product, leaving a little space around the edges. A product that fills the frame looks confident and professional, while a tiny product lost in a large background looks uncertain. Shoot from slightly above the product for a natural, flattering angle. A straight-on shot suits flat products such as cards and prints.
Keep the composition simple. One product per photo is usually best, with at most one or two small props. A prop should support the product, not compete with it. A sprig of greenery beside a soap bar adds life, while a busy collection of props distracts. When in doubt, remove a prop.
Using a Phone Camera
A modern phone camera takes excellent product photos with natural light. Tap the screen on the product to focus and set the exposure. Use the grid overlay to keep the composition straight. Shoot in the highest resolution available so the photo stays sharp when cropped. A phone is enough for most online shops.
Avoid using the phone’s flash, since it creates harsh shadows and unnatural colors. If the photo looks dark, move closer to the window rather than turning on the flash. A tripod or a steady surface prevents blur in low light. A small phone tripod costs little and improves sharpness.
Editing and Using the Photos
Edit the photos lightly with a free app. Adjust the brightness, contrast, and white balance until the colors match the real product. Crop the photo to remove distractions at the edges. Avoid heavy filters, since buyers want to see the true colors of a handmade product. Honest photos build trust and reduce returns.
Use the best photos on your shop listings, social media, and packaging. Consistent photos with the same background and light make a shop look professional. Update photos when you change a product or its packaging. Good photos taken with natural light sell handmade products as well as studio photos.
Shoot the same product from several angles and pick the best shot. A front view, a three-quarter view, and a detail close-up give you options. More shots mean a better chance of one standout photo.
Clean the product carefully before photographing it. Dust, fingerprints, and stray threads show up clearly in close-up photos. A quick wipe with a soft cloth takes seconds and improves the result.
Check the photo on a larger screen before listing the product. A photo that looks sharp on a phone may show softness on a computer. A quick check on a bigger screen catches problems early.
Good product photos build buyer confidence and reduce questions about colors and details. A clear photo answers questions before they are asked.
Revisit your photos every few months and reshoot any that look dated. Fresh photos keep a shop looking current and cared for.
Natural light is free, flattering, and always available. Use it well, and your handmade products will shine.
Wrap up here, then dive into Best Ideas for Art and Craft Exhibition: Creative Success Guide — it pairs well with what you just read.
Related Articles:
- Best Ideas for Art and Craft Exhibition: Creative Success Guide
- How to Make Money With DIY Crafts: A Proven Roadmap for Success
- Beading Crafts for Beginners to Sell: Small Projects Guide
Tried this project?
Show us how yours turned out in the comments — your version might be exactly the inspiration another maker needs.
If this tutorial helped, share it with a fellow crafter.