
5 min read
Slow stitching samplers are a gentle, meditative form of hand embroidery. There is no deadline, no pattern to follow exactly, and no pressure to finish quickly. You stitch small, simple shapes onto fabric at whatever pace feels relaxing. The finished sampler becomes a record of quiet evenings and a reminder to slow down.
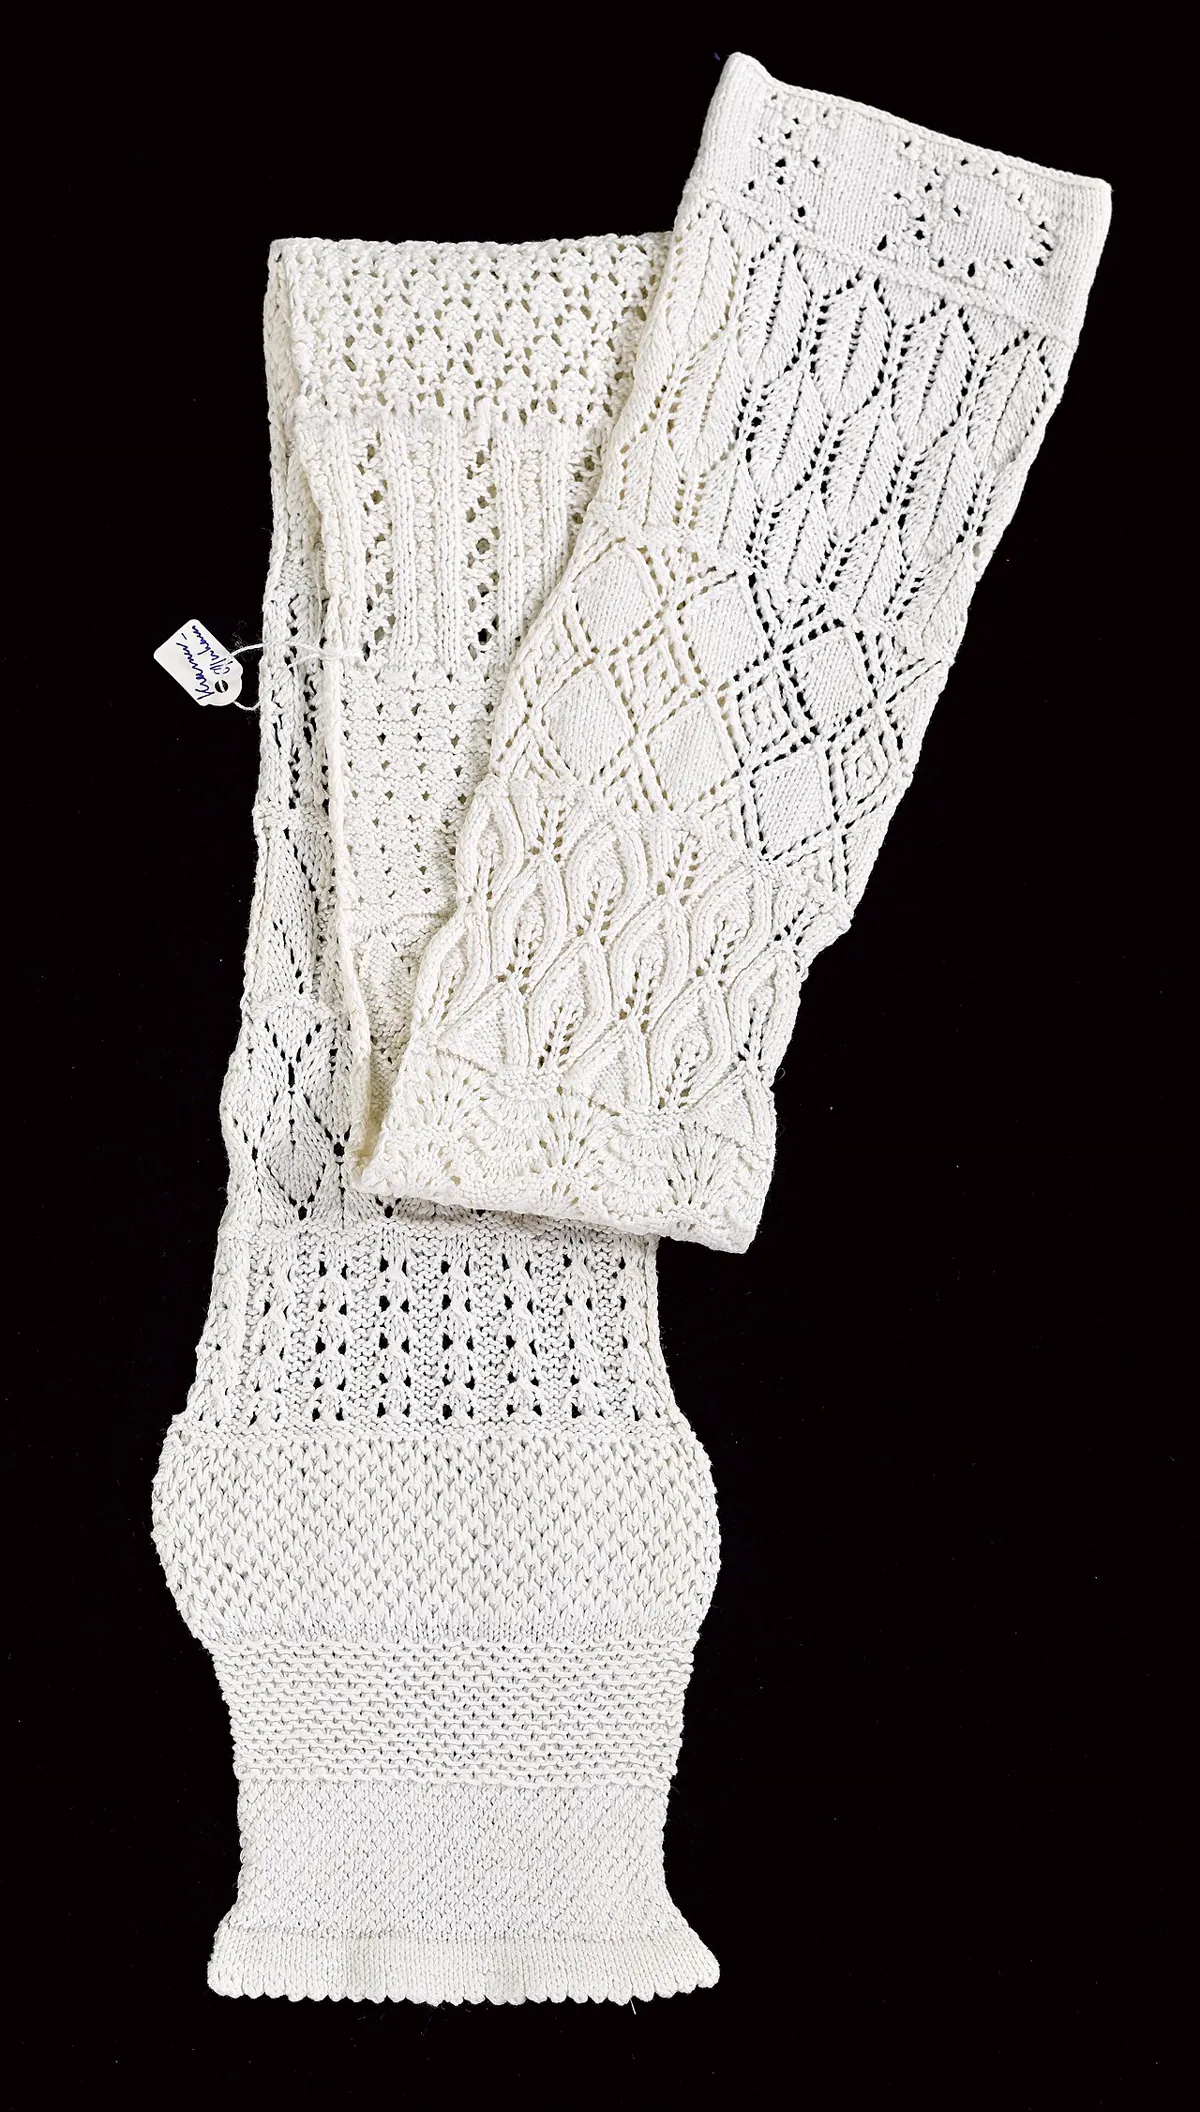
Start with a piece of plain fabric about twelve inches square. Linen, cotton, and even-weave fabric all work well for slow stitching. Choose a fabric in a soft, neutral color so the stitches stand out. You will also need a needle, a small hoop, and a few skeins of embroidery floss in colors you enjoy. Keep the supplies in a small pouch so the project is portable.
Pick a hoop that fits comfortably in your hand. A six-inch hoop suits most samplers and is easy to hold for long stitching sessions. A hoop keeps the fabric taut and makes even stitches easier. Move the hoop as you work so each section of the sampler is within comfortable reach.
Choosing Fabric and Thread
Natural fabrics such as linen and cotton feel pleasant to stitch and age gracefully. A medium-weight fabric holds stitches well without puckering. Avoid very thin fabric, since it distorts under the needle. A fabric with a visible weave helps you keep stitches even, which matters when the goal is relaxation rather than precision.
Choose embroidery floss in colors that calm you. Soft blues, greens, and earth tones suit evening stitching, while brighter colors add energy. Use all six strands of floss for bold stitches, or split the floss for finer lines. A small palette of three or four colors keeps the sampler coherent.
Starting with Simple Stitches
Begin with the running stitch, which is simply an in-and-out stitch along a line. The running stitch is the foundation of slow stitching and creates a gentle dashed pattern. Work slowly and enjoy the rhythm of the needle moving through the fabric. There is no need to rush, since the process is the point.
Add the backstitch for solid lines and the French knot for small dots of texture. A sampler with just three stitches can still look rich and varied. Practice each stitch on a scrap of fabric before adding it to the sampler. A relaxed hand produces more even stitches than a tense one.
Building a Sampler Design
Let the design grow organically rather than planning it fully in advance. Stitch a row of running stitches, then add a cluster of French knots beside it. Fill a small area with cross stitches, then leave an empty space for contrast. An organic design feels more restful than a rigid pattern.
Work on the sampler in short sessions, perhaps twenty minutes in the evening. A short session feels restorative, while a long session can strain the eyes and hands. Put the sampler away when the session ends and return to it the next evening. The sampler grows slowly, which is exactly the point.
Adding Texture and Layers
Layer stitches on top of each other for texture. A French knot on top of a running stitch line creates a raised dot that catches the light. A few seed stitches scattered over an area fill it softly without making it dense. Experiment with layering to discover combinations you enjoy.
Attach small fabric scraps or buttons to the sampler for extra texture. A tiny patch of printed fabric adds color and pattern without any stitching. Keep additions small and flat so the sampler still folds or frames neatly. A few mixed-media details make the sampler feel personal.
Finishing and Displaying
When the sampler feels complete, press it gently from the back with a warm iron. Frame it in a simple hoop or a small picture frame for display. A hoop frame keeps the sampler looking handmade, while a picture frame gives it a more formal presentation. Hang it where you will see it during quiet moments.
Keep a slow stitching sampler going as an ongoing project. There is no deadline and no wrong way to stitch. The sampler becomes a quiet companion for evenings, a way to unwind after a busy day, and a beautiful record of time spent slowly.
Stitch outdoors on a pleasant evening for a change of scenery. A garden bench or a porch chair makes a lovely stitching spot. Fresh air and birdsong add to the relaxing mood of the work.
Keep a small notebook beside your stitching to record ideas for new samplers. A sketch or a few words captures an idea before it fades. A notebook of ideas keeps the craft fresh.
Join a slow stitching group online to share progress and see other people’s samplers. A friendly group offers encouragement and new ideas. Slow stitching is a solitary craft, but it is also a shared pleasure.
End each stitching session by pressing the sampler gently and folding it away. A tidy end to the session makes the next one more inviting.
Over time, a slow stitching sampler becomes a record of quiet evenings. Each stitch holds a memory of a calm moment.
Slow stitching is a quiet art for quiet evenings. Stitch slowly, breathe deeply, and enjoy the calm. A sampler stitched slowly is a sampler stitched well.
If you came for Stress Relief, stay a little longer — the picks below are closely related, starting with Key Crafts for Adults: Unleash Your Creativity.
Reference: Samplers — Wikipedia
Related Articles:
- Key Crafts for Adults: Unleash Your Creativity
- 3D Printed Crafts for Relaxation: Functional & Mindful Ideas
- Bath Bomb Crafts for Stress Relief: Minimalist DIY Under 1 Hour
Tried this project?
Show us how yours turned out in the comments — your version might be exactly the inspiration another maker needs.
If this tutorial helped, share it with a fellow crafter.